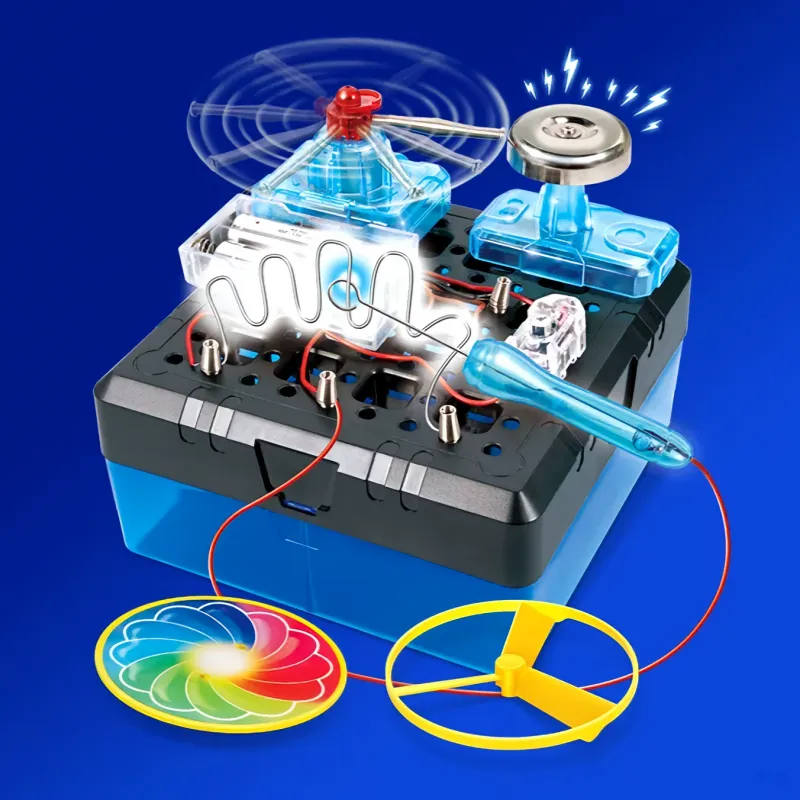


Product Description
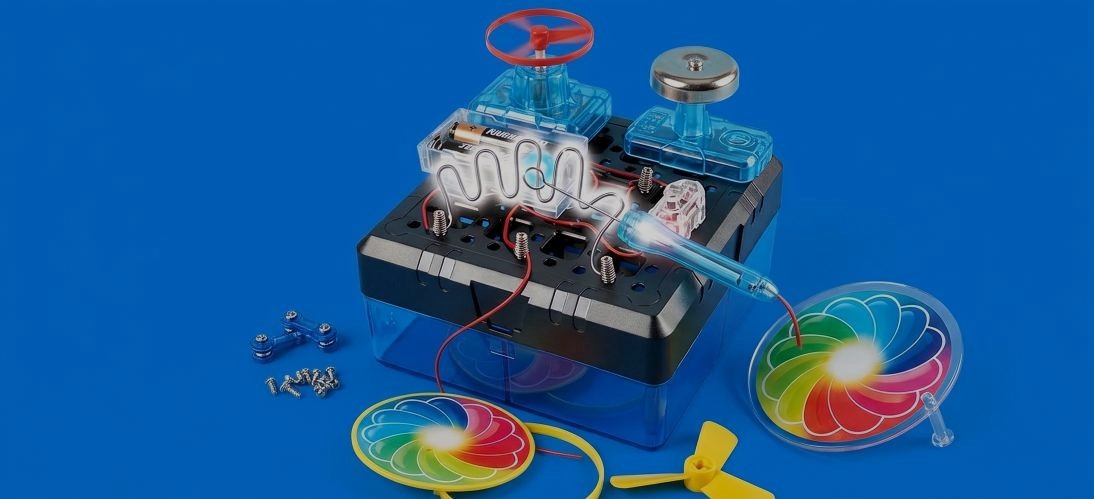
3-in-1 Maze Bell
For ages 8 and up
Science-themed experimental toys
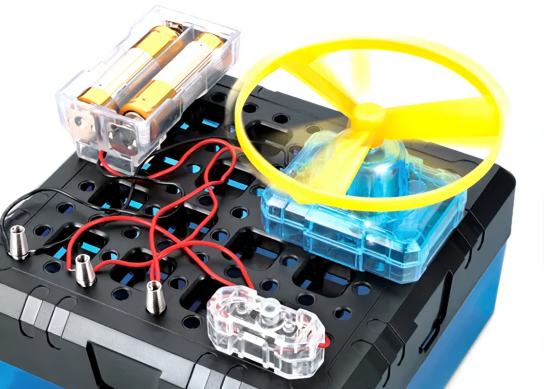
1. How does a flying disc manage to take flight?
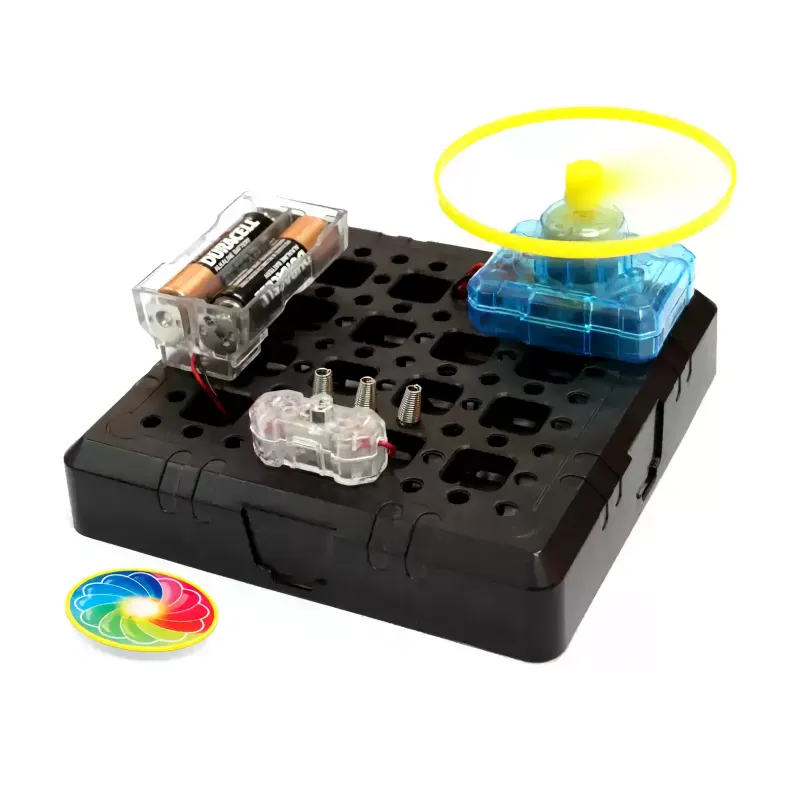
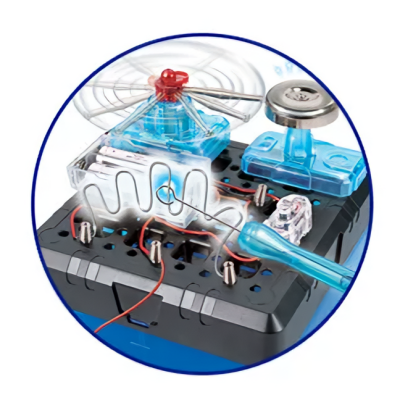
Take a close look—doesn’t the shape of the disc resemble the blades of an electric fan? Each of the three blades is set at an angle; as the disc spins rapidly, it pushes air downward, generating thrust. Now, consider this: why is it that if the wires are connected in reverse, the disc fails to take off?
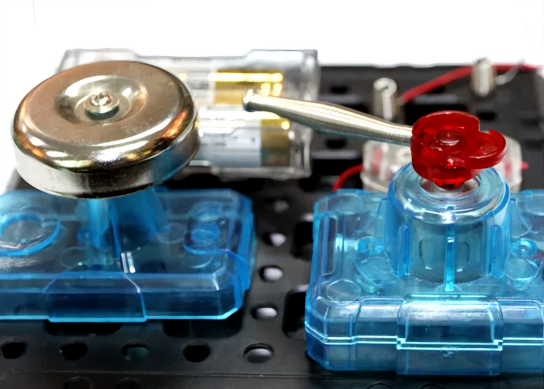
2. With such a large gap, will it actually strike the bell?
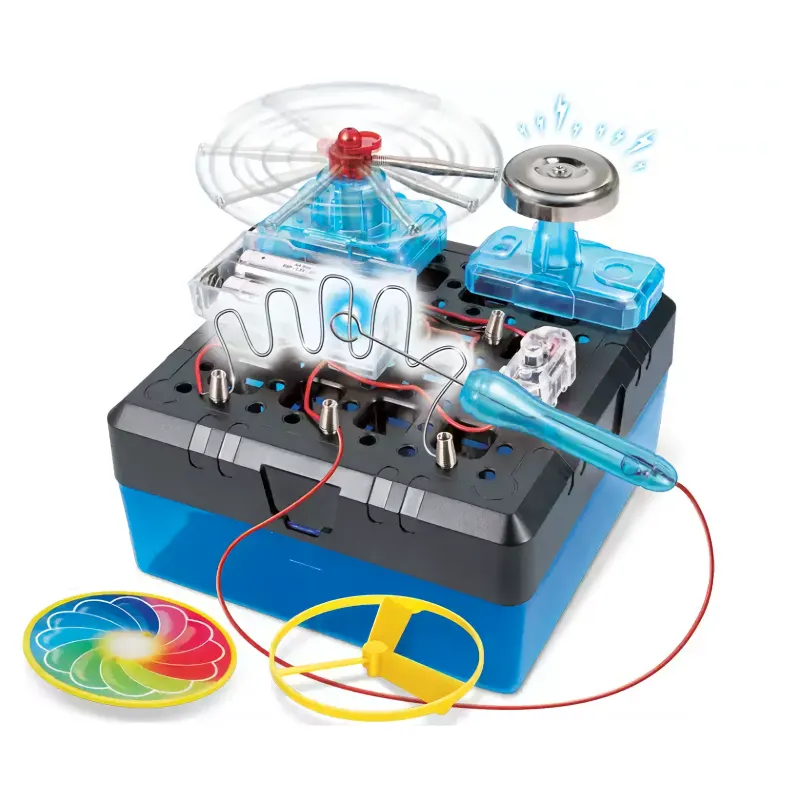
Don’t worry! As the motor spins rapidly, the spring-loaded arm extends due to centrifugal force, allowing it to strike the bell and produce a crisp, clear sound. Think about it: what sports or physical activities in our daily lives rely on this same principle?
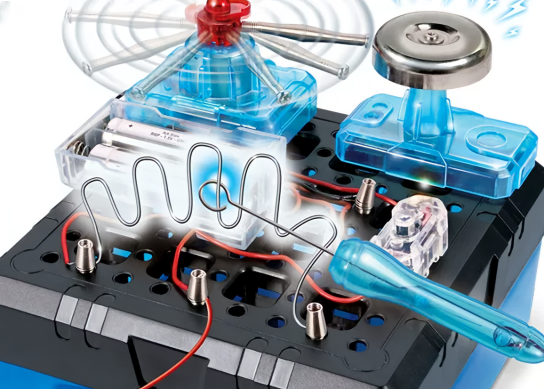
3. Let’s play a maze-traversing game!
The metal ring on the wand and the wire maze together form a switch. As you navigate the maze, you must keep your hand steady—if the metal ring touches the wire, the circuit closes, triggering an alarm bell, and you lose the game! Plus, children can even bend the wire into all sorts of different shapes!
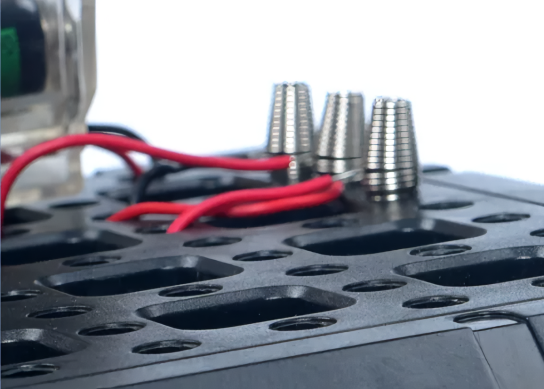
4. Spring-clip wiring and snap-fit assembly
The use of spring clips ensures low resistance and excellent electrical conductivity, while also allowing children to gain an intuitive understanding of series circuits through the wiring process. The circuit baseboard features multiple connection points and a snap-fit assembly system—making it both safe and convenient—while helping children learn the principles of mechanical transmission as they build.
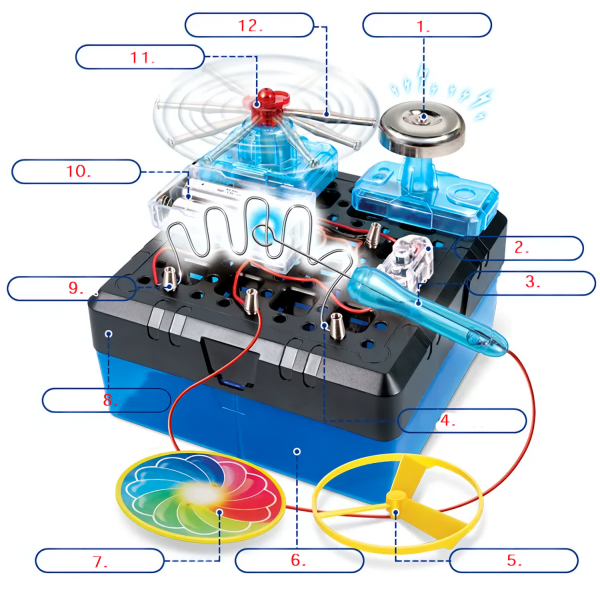
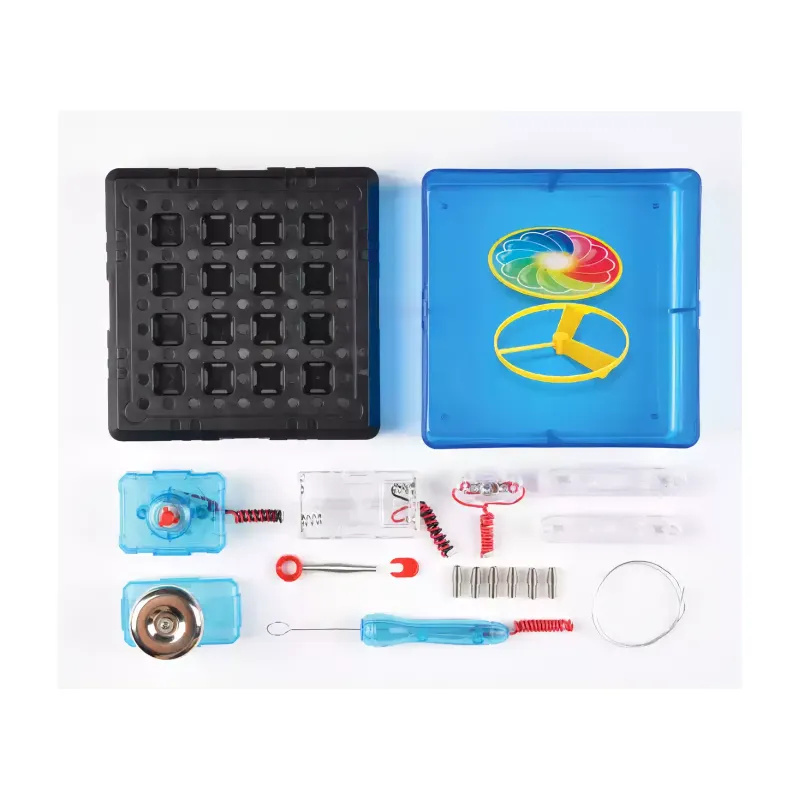
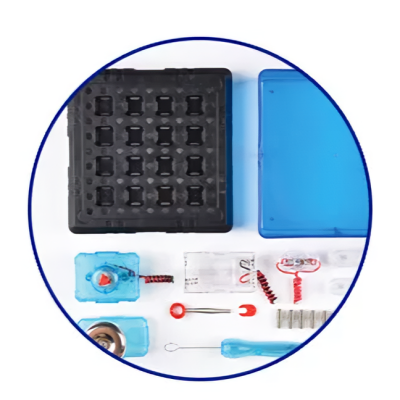
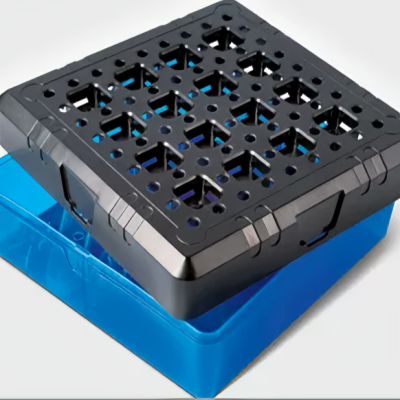
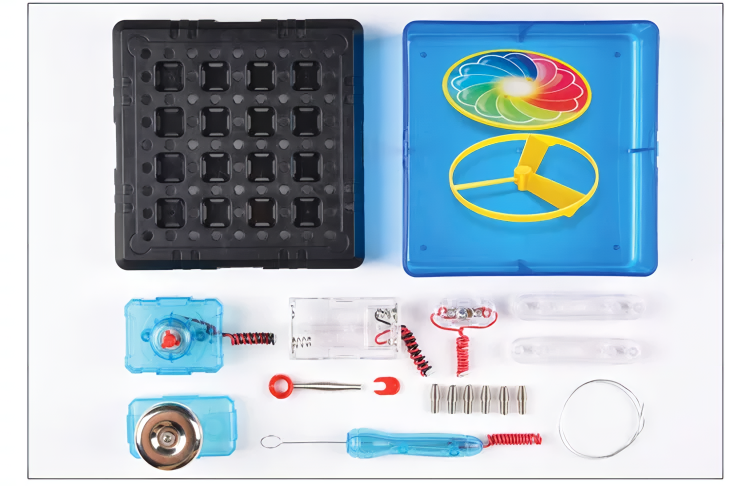
1.Bell | 2.Switch | 3.Maze Magic Wand | 4.Wire for navigating a maze | 5.Flying saucer-shaped disc | 6.Parts storage box |
7.Filter wheel | 8.Perforated circuit baseboard | 9.Wire-clamping spring | 10.3V battery holder | 11.Electric motr | 12.Bell-ringing rod |
Functional Features
01. Understanding Electronic Components Through the assembly process, learn about the functions of switches, motors, battery holders, and wires, and study simple series circuits. |
|
| 02. Learning Scientific Principles Learn about the effects of waves on sound, the principles behind the formation of wind, the theory of the three primary colors, the principle of buoyancy, and more. |
03. Developing Logical Thinking The scattered components may appear disorganized at first, but following the instructions to assemble them helps cultivate clear, logical thinking skills. |
|
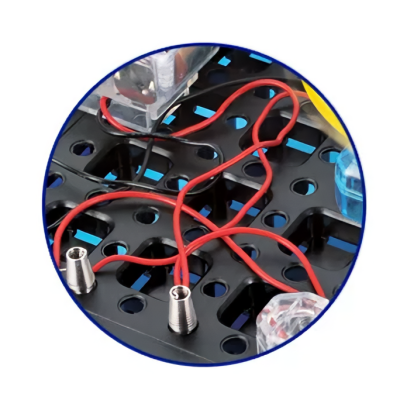
Learning Objectives
Through hands-on assembly experiments, children will learn about the principles and applications of electric bells and axial-flow fans. By making observations, they will also gain an understanding of concepts such as the propagation of sound waves, the formation of wind, and the three primary colors. Additionally, they will be introduced to simple series circuits. This approach allows children to acquire scientific knowledge through play, transforming learning from a passive experience into an active exploration!
Product Display
|
|
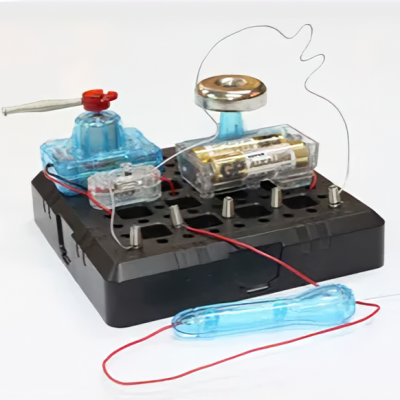
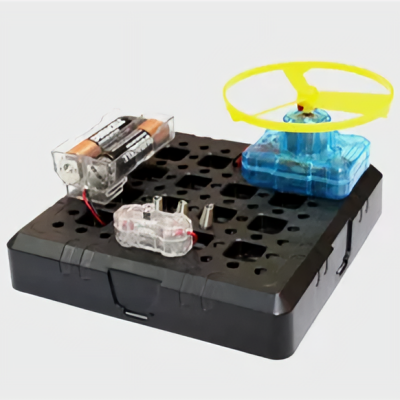
| Bell Assembly | Flying Saucer Assembly |
|
|
| Accessory Storage Box | Imported Plastic Components |
Product parameters
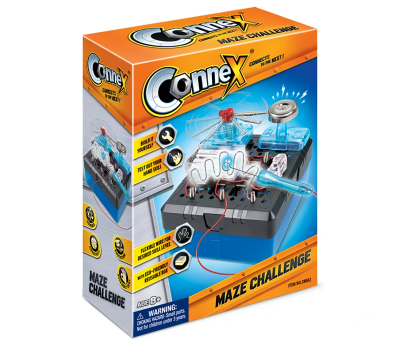
Brand | CONNEX by Amazingto LTD |
Product Name | 3-in-1 Maze Challenge |
English Name | MAZECHALLENGE |
Product Code | 38802N |
Recommended Age | Ages 8+ |
Main Material | Plastic, metal hardware, wiring, motor |
Certifications | EU EN71 and China 3C certified |
Net Weight | 0.34 kg |
Color Box Dimensions | 21.5 × 16.7 × 7 (cm) |
List of Accessories
name | quantity | name | quantity | ||
1 | Bell | 1 | 8 | Wire Maze | 1 |
2 | Motor | 1 | 9 | Bell-Ringing Rod | 1 |
3 | Circuit baseboard | 1 | 10 | U-Shaped Plastic Lock | 1 |
4 | 3-volt battery holder | 1 | 11 | Storage Box | 1 |
5 | Switch | 1 | 12 | Connecting Bridge | 1 |
6 | Spring connector | 5 | 13 | Flying Saucer Disc | 1 |
7 | Maze wand | 1 | 14 | Three-Color Filter Disc | 1 |
Simple snap-fit assembly (includes instructions in Chinese and English)
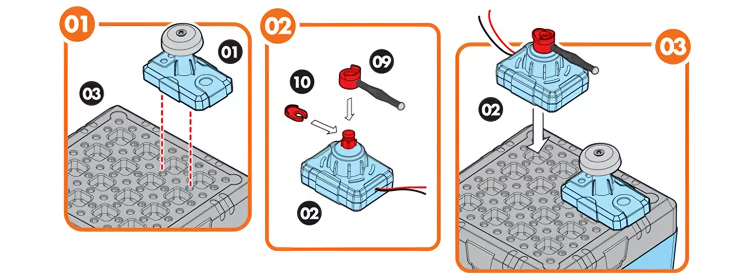
01. Install the bell at the position indicated on the circuit base plate.
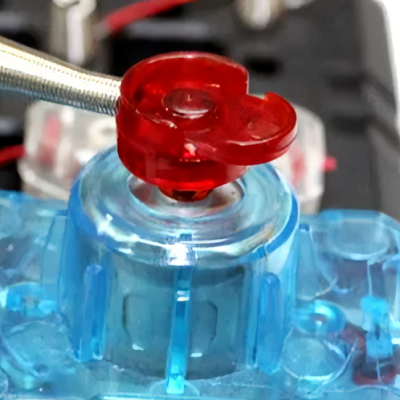
02. Attach the spring rod to the motor, then insert the C-shaped plastic clip onto the spring rod to secure it in place.
03. Install the motor onto the circuit base plate at the position indicated. Ensure the motor is positioned correctly so that the spring rod can strike the bell smoothly.
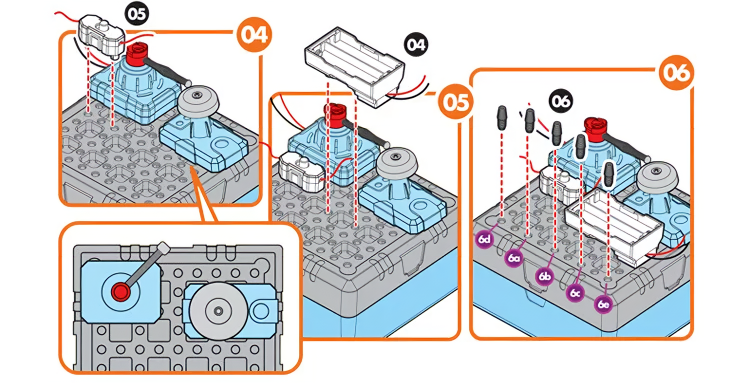
04. Install the switch onto the circuit base at the position shown in the diagram.
05. Install the battery compartment onto the circuit base at the position shown in the diagram.
06. Install the 5 spring connectors onto the circuit base, pressing them down firmly with the narrow end facing downward; label them A, B, C, D, and E.
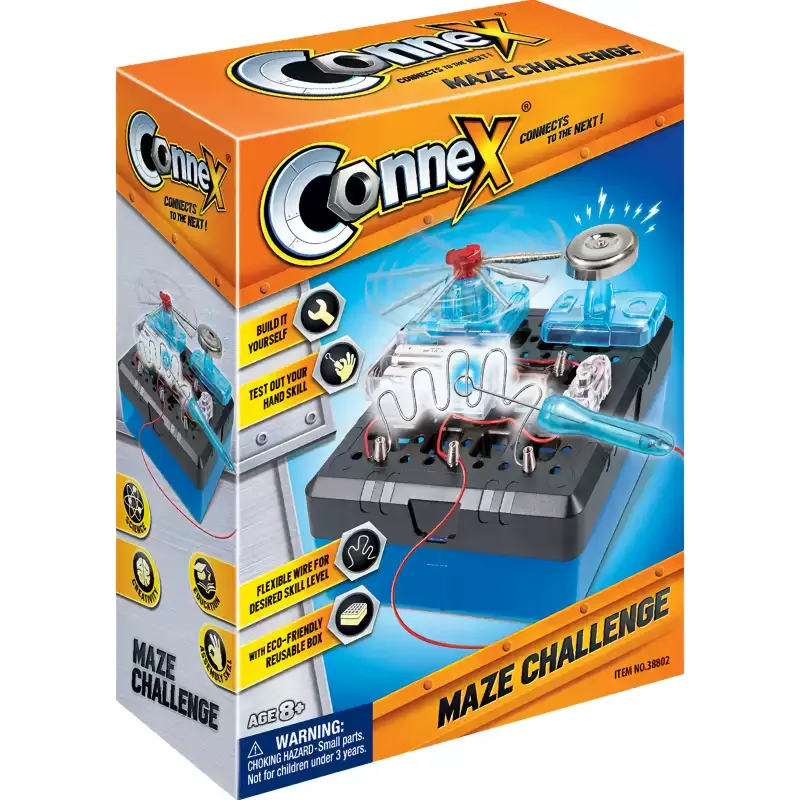
Product Packaging