

Product Description
Electronic Project Kit / Soldering Practice
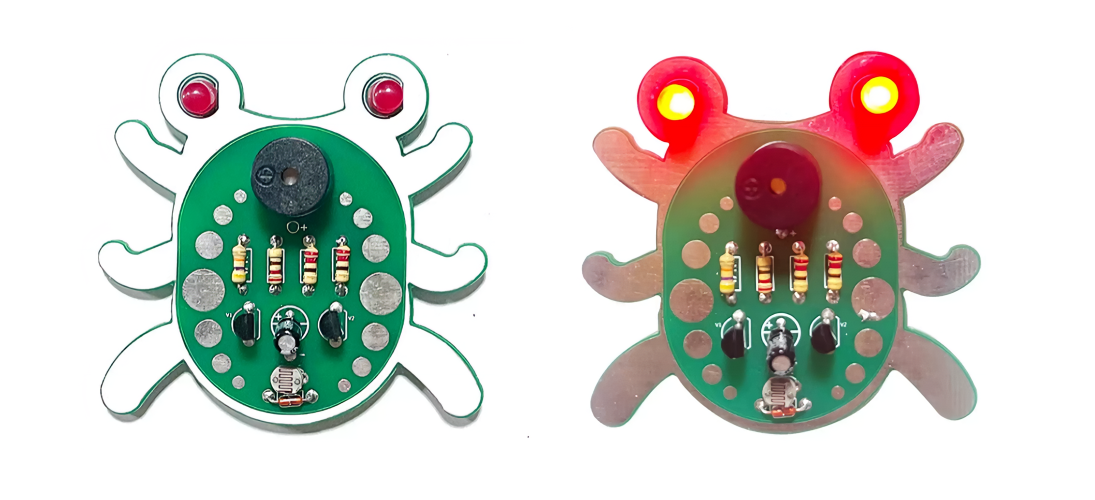
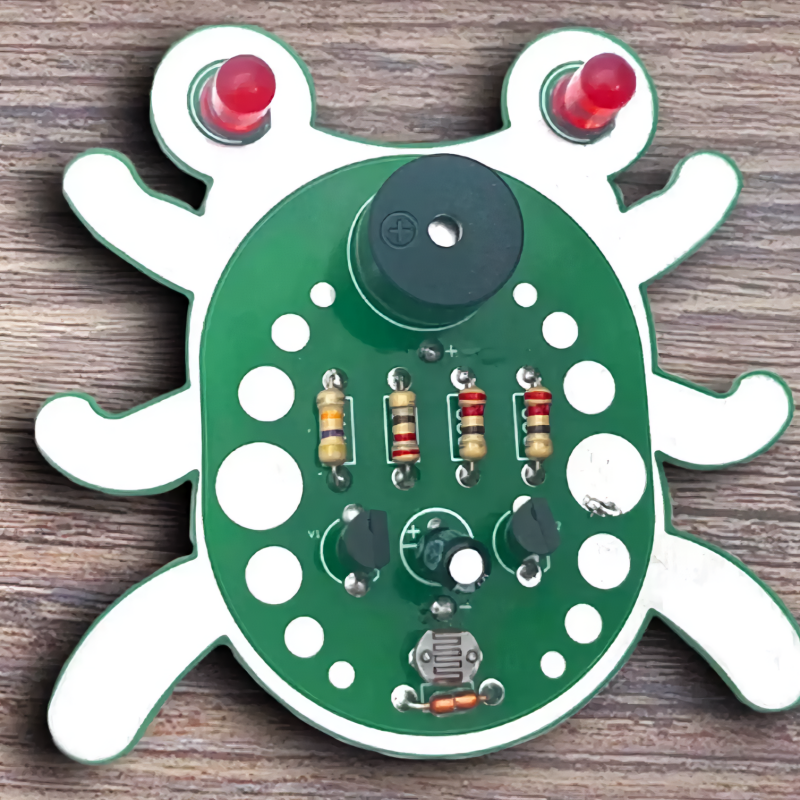
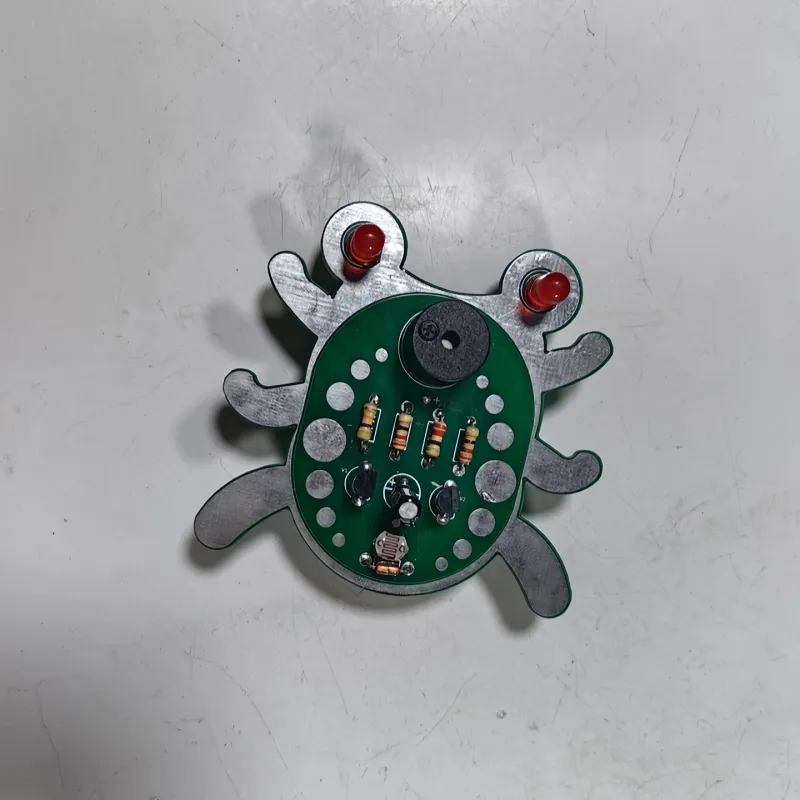
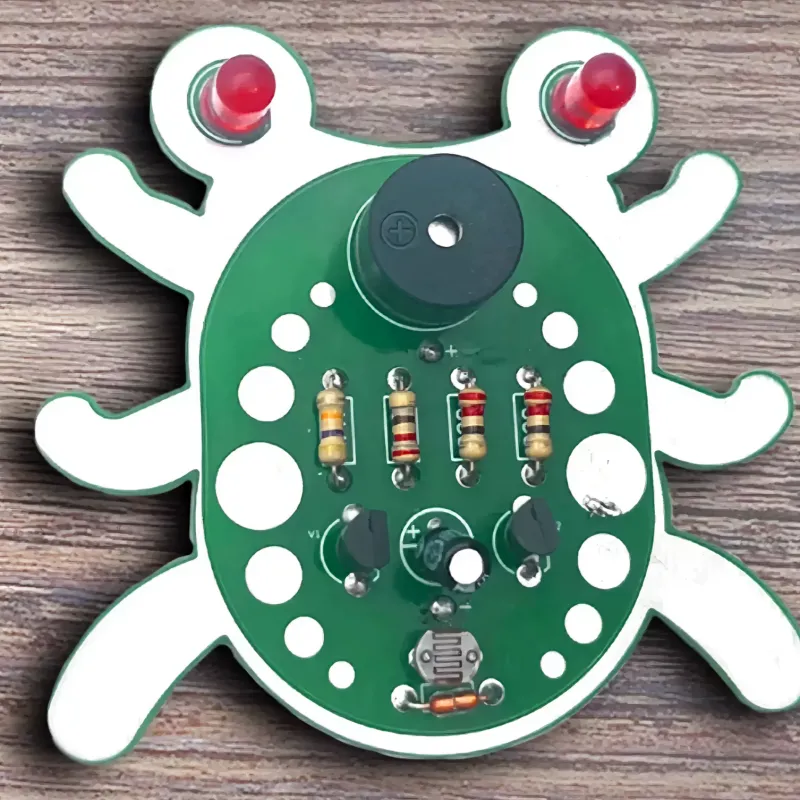
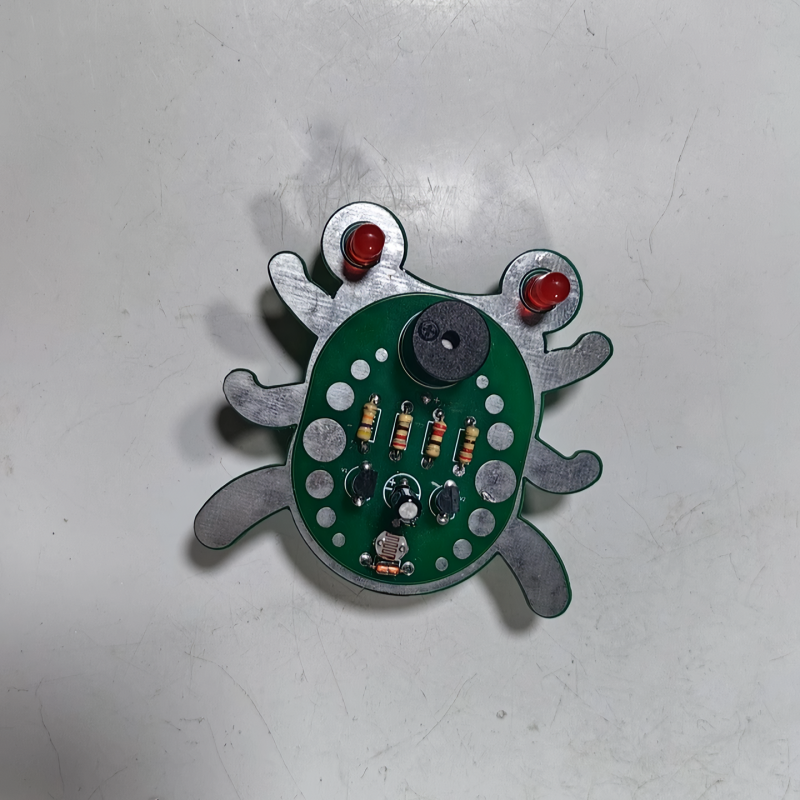
For aesthetic reasons, the thermistor leads were not left long; however, for the actual installation, you must follow the tutorial and leave the leads at the required length.
Once the "weevil's" eyes have been soldered in place, we can test the functionality of the circuit board.
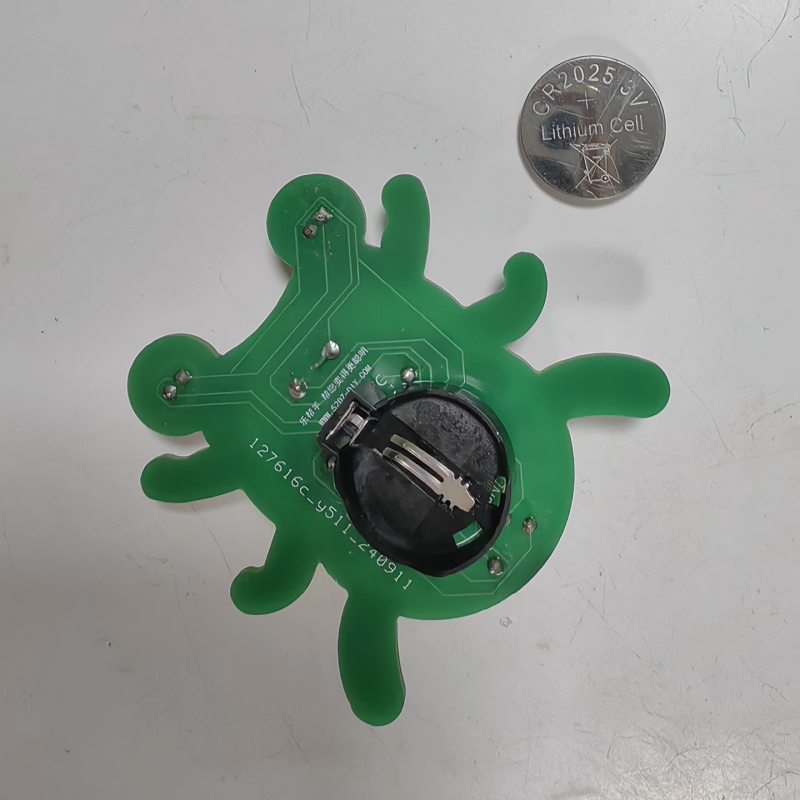
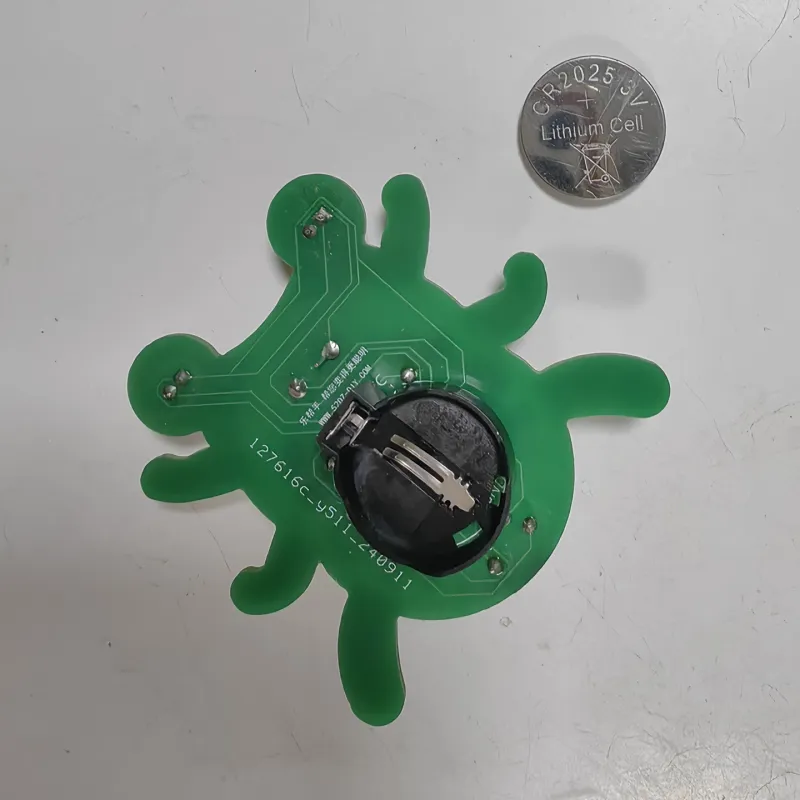
· Insert a 20mm coin cell into the battery holder with the positive side facing up.
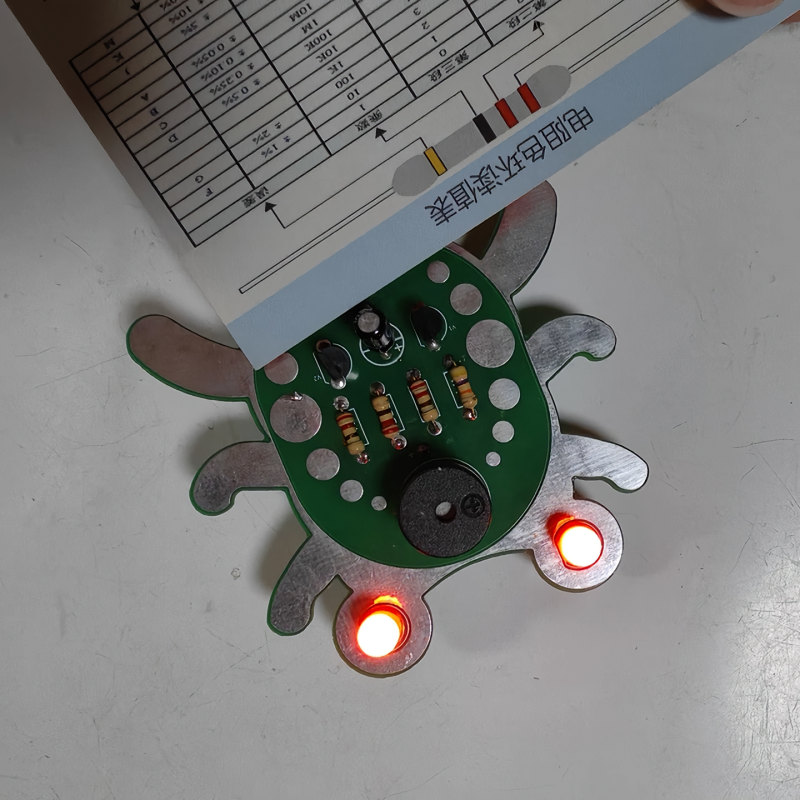
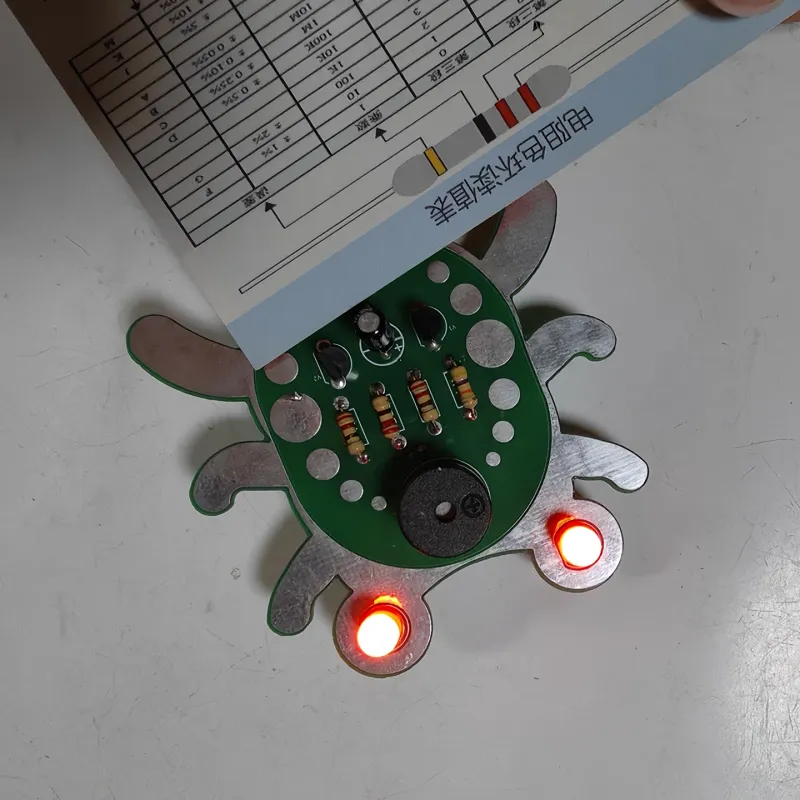
· The LED will light up when the photoresistor detects low light levels.
· The buzzer will sound when the thermistor detects an increase in temperature.
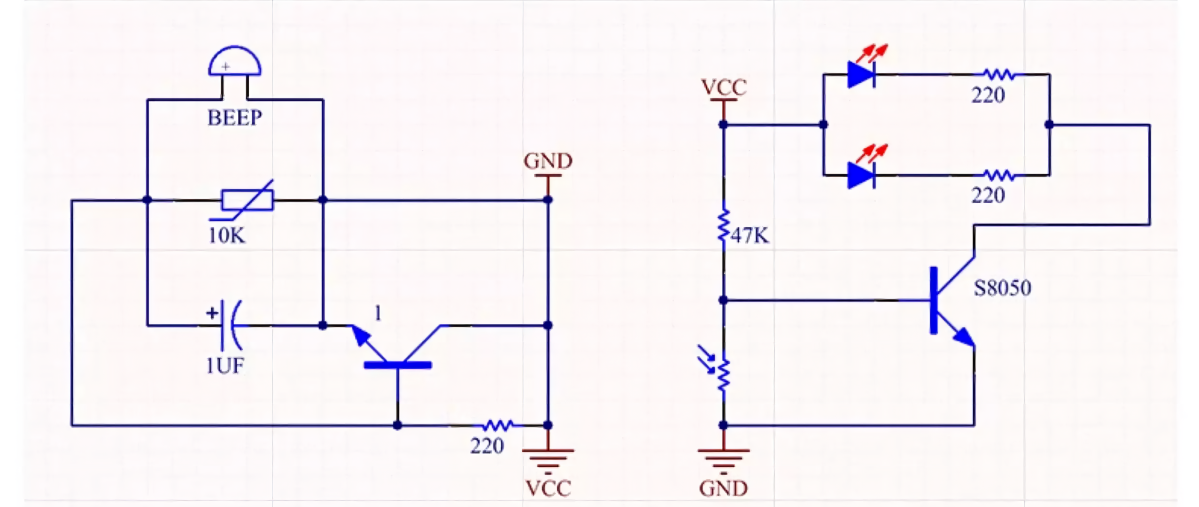
Circuit Schematic
Product Detail Notes
1. The PCB features silkscreen markings for various components; please refer to these markings when soldering.
2. Resistors are non-polarized (direction-independent), but they have different resistance values; ensure you distinguish between them during soldering.
3. For polarized components with leads, the longer lead is positive (+) and the shorter lead is negative (-). Ensure they are oriented according to the silkscreen markings on the PCB.
4. When connecting power wires to the terminal block, be careful to distinguish between the positive and negative terminals; do not reverse the polarity.
5. Follow this soldering sequence: from the lowest profile to the highest, from the smallest components to the largest, and from the center outward.
6. Set your soldering iron to a temperature between 320°C and 380°C. Apply heat for approximately 3–5 seconds; do not solder for too long, as this may damage the circuit board's traces (ground lines).
7. On the circuit board, "VCC" indicates the positive terminal, and "GND" indicates the negative terminal.
8. Be mindful of static electricity and the power supply voltage to avoid damaging the circuit or its components.
Product parameters
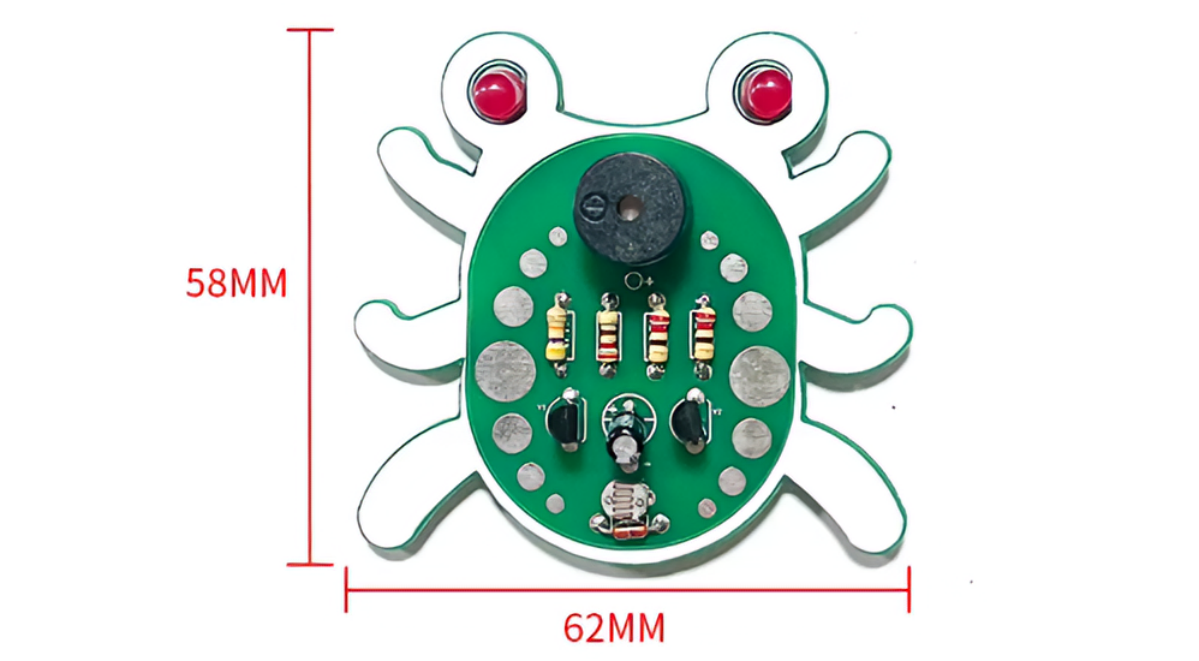
| Product Name : | Weevil DIY Kit |
Circuit Board Dimensions : | 62mm × 58mm |
Supply Voltage : | 3V DC power supply |
Packing List
Weevil DIY Kit Packing List | ||||
Component Name | Product pictures | Parameters | PCB Marking | Quantity |
Resistor | 220 (Red, Red, Brown, Gold) | 220 | 3 | |
Thermistor | 47K (Yellow, Violet, Orange, Gold) | 47K | 1 | |
Electrolytic capacitor | 1 | |||
Photoresistor | 1UF/50V | 1 | ||
Active buzzer | 1 | |||
S8050 transistor | Active | 1 | ||
LED | S8050 | V1.V2 | 2 | |
Coin cell battery holder | 5mm - Red-emitting (Red) | 2 | ||
Circuit board | 1 | |||
20mm coin cell battery | 1 | |||
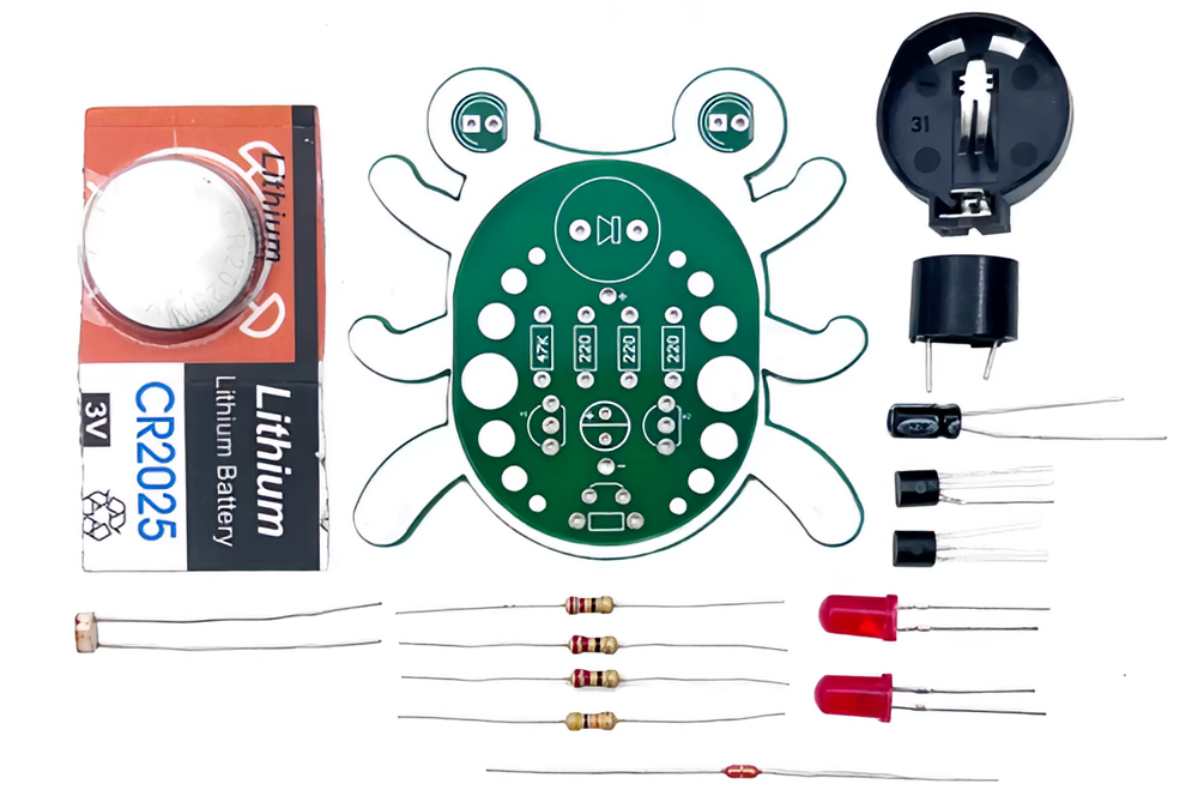
Product components
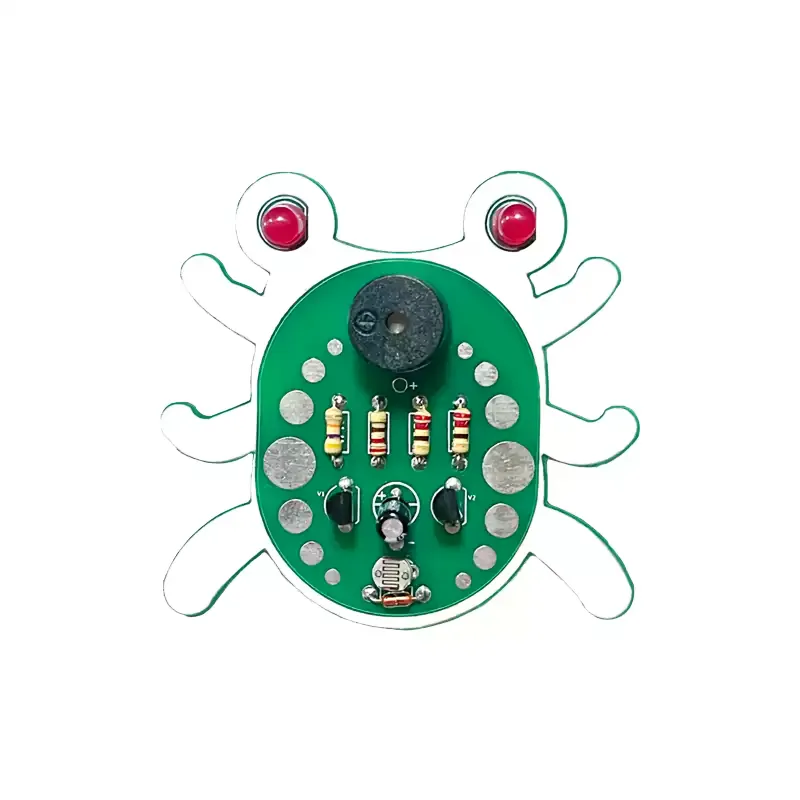
The product is shipped as individual components.
Product Showcase
|
|
 |
|