

Product Description
Let children learn to code
before they learn to read
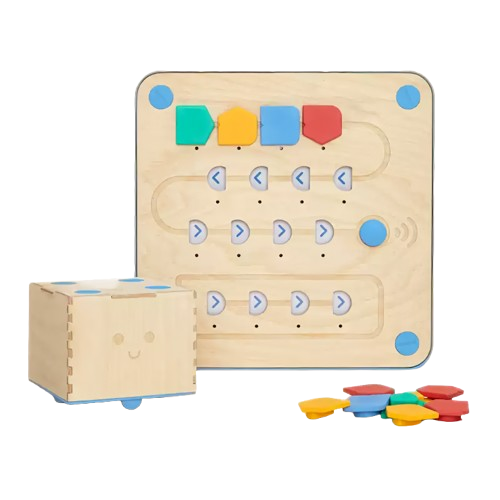
| Primo is a programming-learning toy designed for children aged three and up, and it has been recognized with numerous awards. Primo offers a fun, physical interface for programming. Without the need for written instructions, children can use it to grasp the true essence of programming. |
Integrate programming into classroom learning
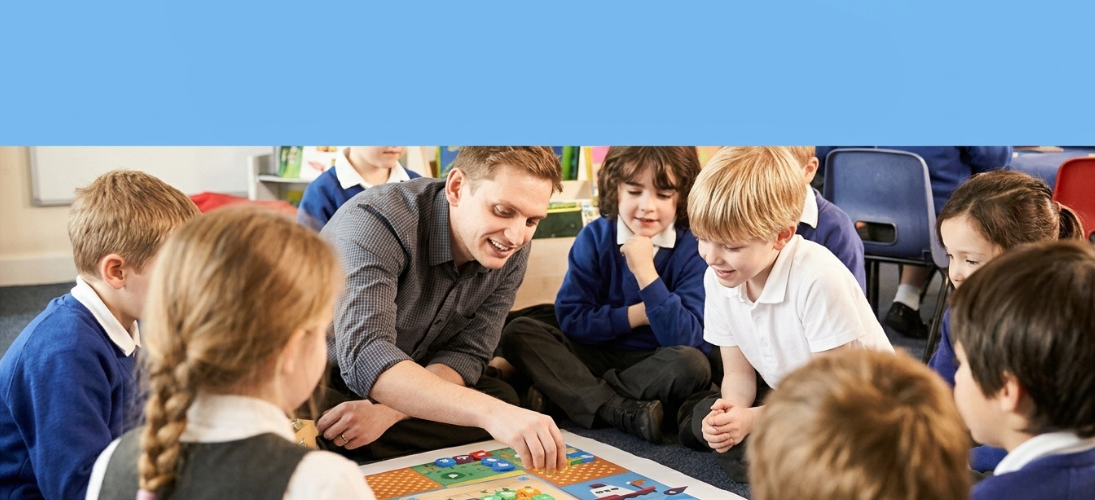
Computer programming has become a new global standard in early-stage education.
Using the "Little Square Head" Coding Program
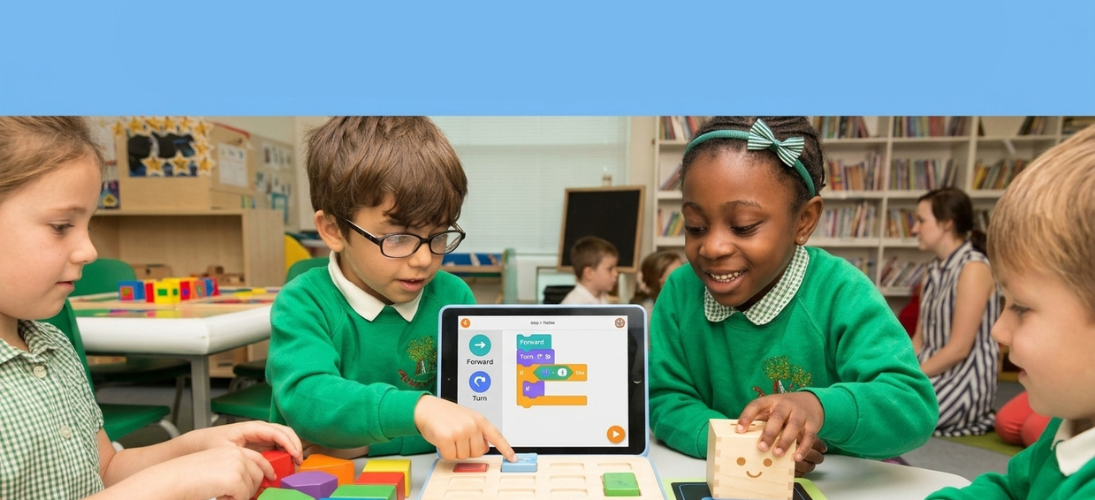
Learning to code is a vital foundation during the early stages of education. Through an intuitive approach, the "Little Square Head" program allows children to absorb concepts effortlessly while they play—making the experience enjoyable for both students and teachers alike.

Primo Goes Global
Across more than 90 countries, over 20,000 educators and parents are using Cubetto to introduce children to programming—in Montessori preschools, early childhood education settings, technology-focused classes, after-school programs, public libraries, and community centers.
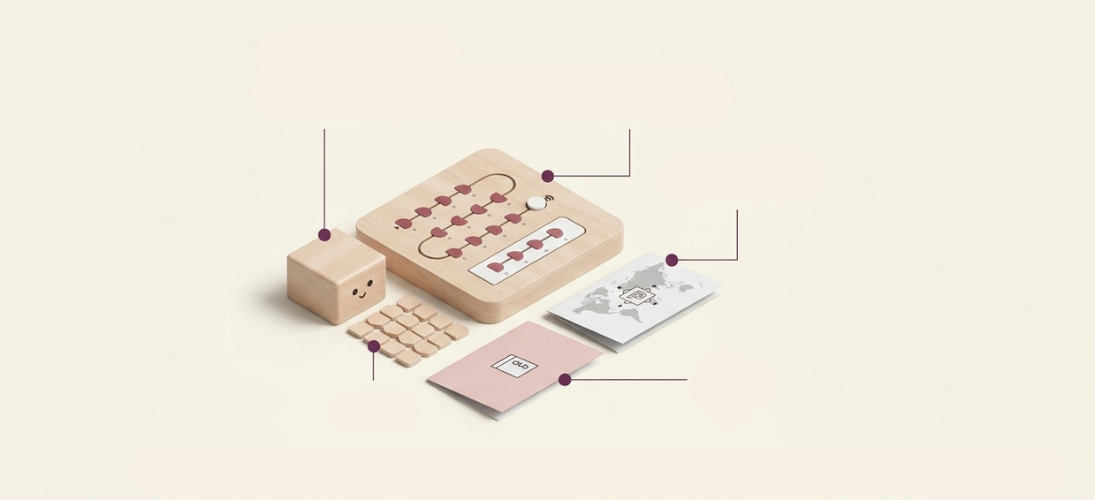
Primo User Manual
Small Square Head Control Panel
World Map
Building blocks Storybooks
"Little Square-Head" (Xiao Fang Tou) is a tangible programming interface designed specifically for children aged three to six. It requires neither reading skills nor the use of a screen. Through the use of colorful building blocks and a wooden robot, it introduces children to the logic of computational thinking, allowing them to issue commands by arranging blocks into "sequences"—a fundamental programming concept.
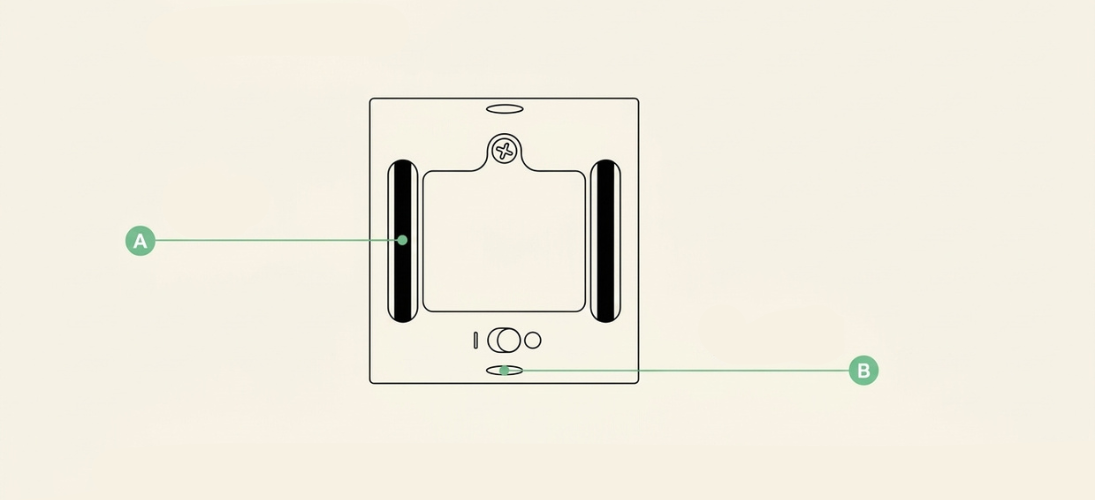
Toy Set Contents
Small Square-Headed Robot
wheel
Plastic Stand
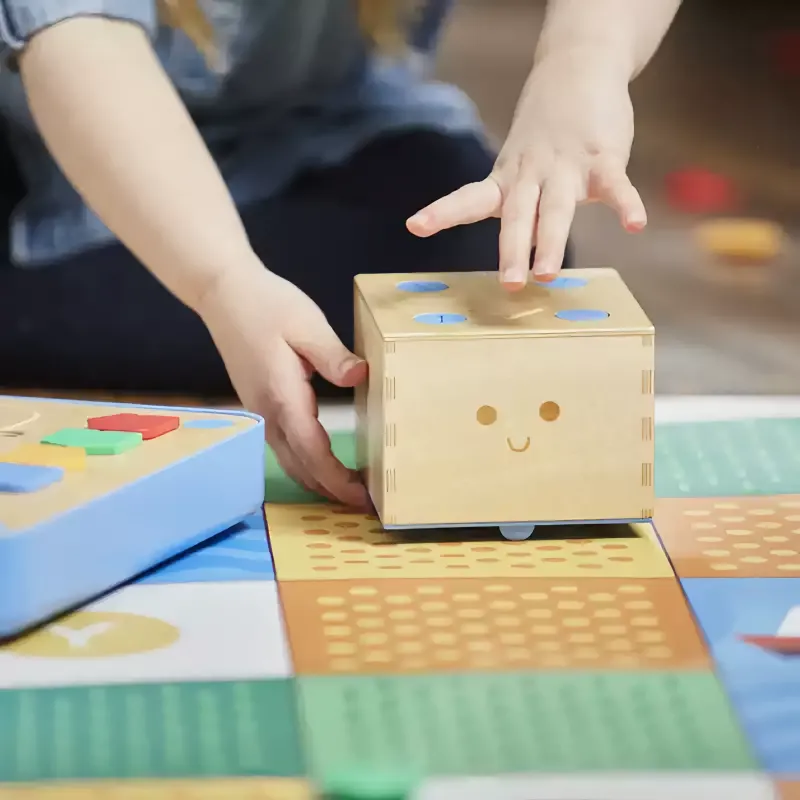
A square, wooden robot with a cute, smiling face on the front, Cubb+ stands on two wheels (A) and two rubber supports (B) that extend from its base.
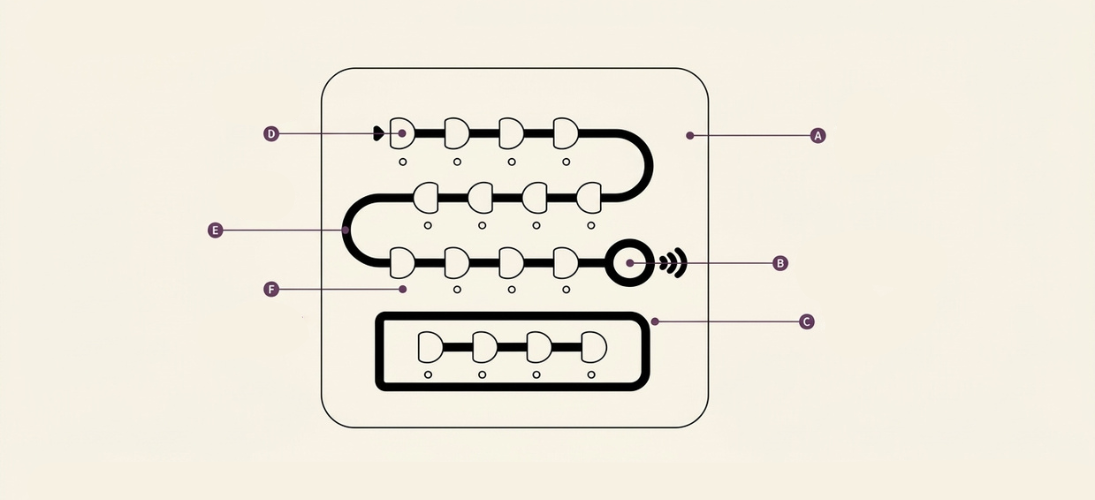
Control Panel
Slot Main Sequence
"Wire"
Start button
LED light Function Bar
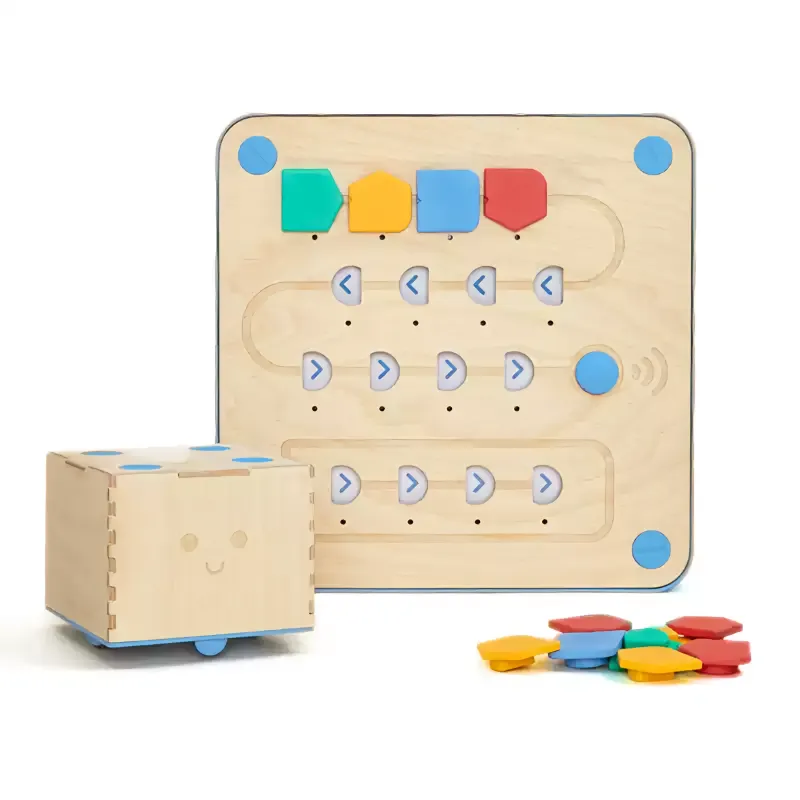
Use the control panel to operate the little square robot. Insert command blocks into the corresponding slots (D). Below each slot, there is an LED light (F). The first 12 slots are connected by a "line" (E), which we call the "main sequence" (A).
Additionally, there are slots connected by a separate "line," which we call the "function sequence" (C). The start button (B) is located on the right side of the control panel; its function is to transmit commands to the little square robot.
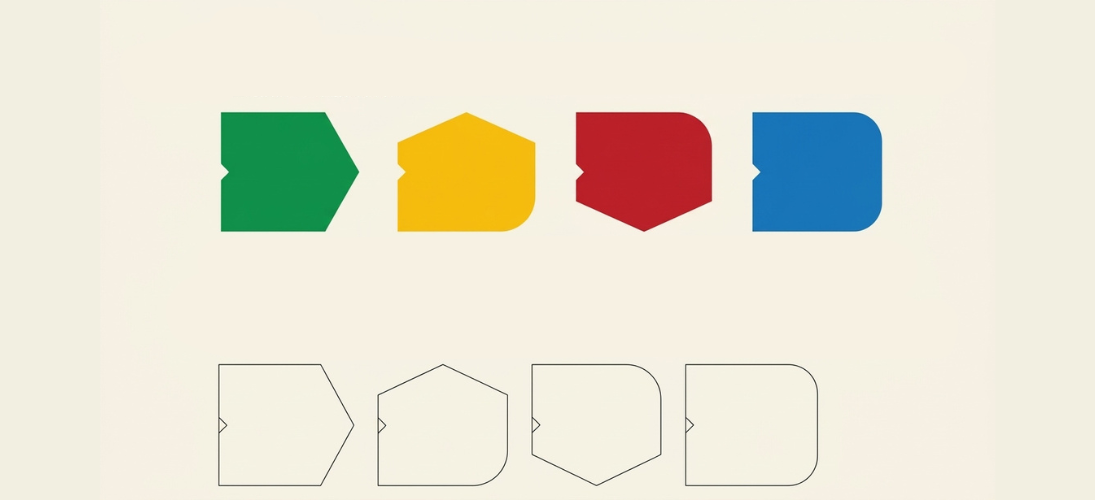
Command Blocks
Command blocks come in various shapes and colors, with each combination representing a different command. All command blocks share the same structural design, allowing them to be inserted into the slots on the control panel. There are four types of command blocks
Advance Turn left Turn right Function
Small square-head advance (15cm) Rotate the small square-ended Rotate the small square-ended Executive function column
piece 90 degrees counterclockwise piece 90 degrees clockwise (indicated by small square icons)
Instruction blocks all share a uniform, square-shaped design to ensure stability when inserted into the panel. Different types of blocks are distinguished by their corner orientation and color, helping to prevent confusion.
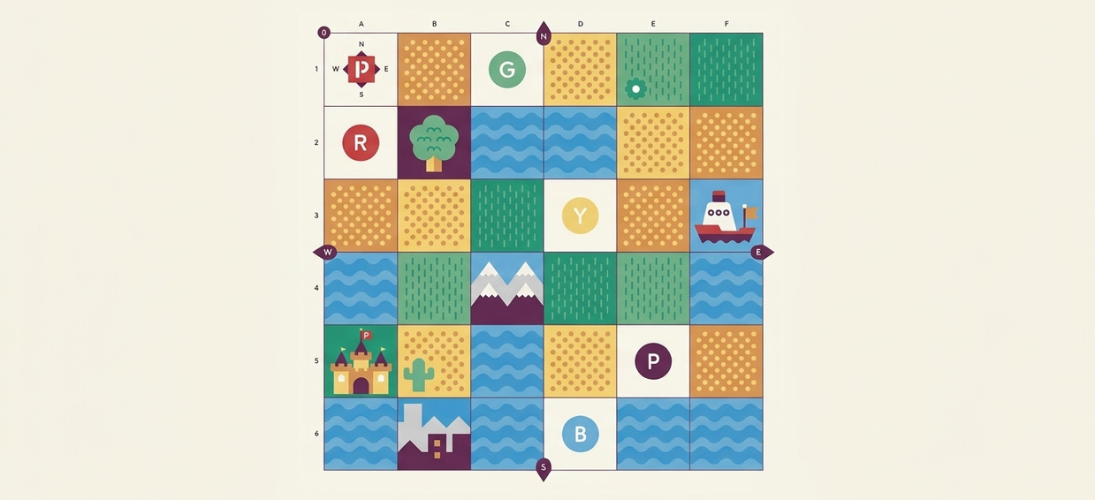
World Map
1m x 1m paper miniature world geography. The circle is 15cm x 15cm in size, with 6 squares on each side. It is used as a play surface (simplified science "geography").
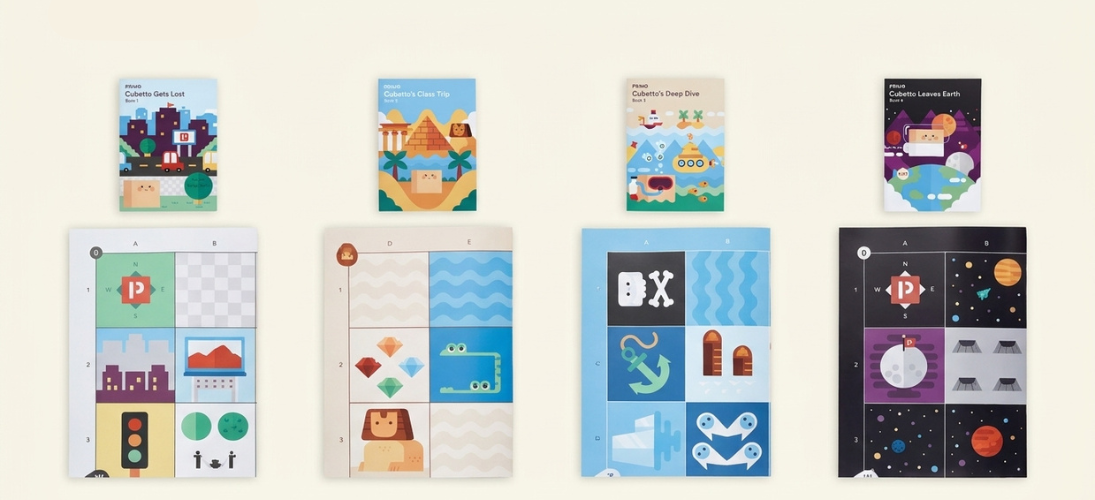
Adventure Combo
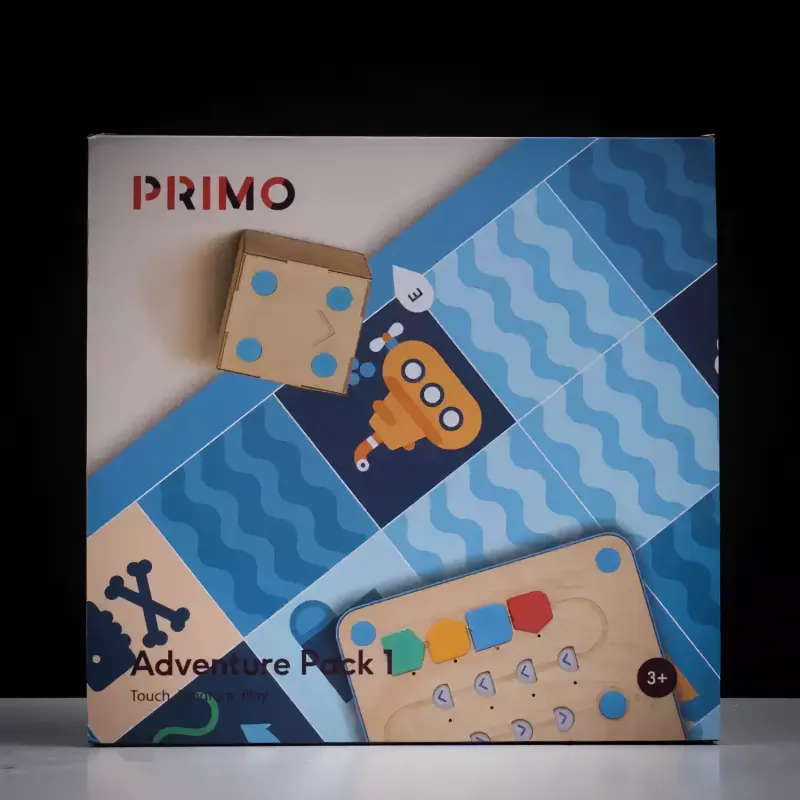
(Can be purchased separately) Same size as the Little Cube Head world map. Includes four additional sets, adding a series of adventures for Little Cube Head: Little Cube Neck City Adventure, Egyptian Adventure, Underwater Adventure, and Space Adventure.
Functional Features
The First Programming Kit for Kids
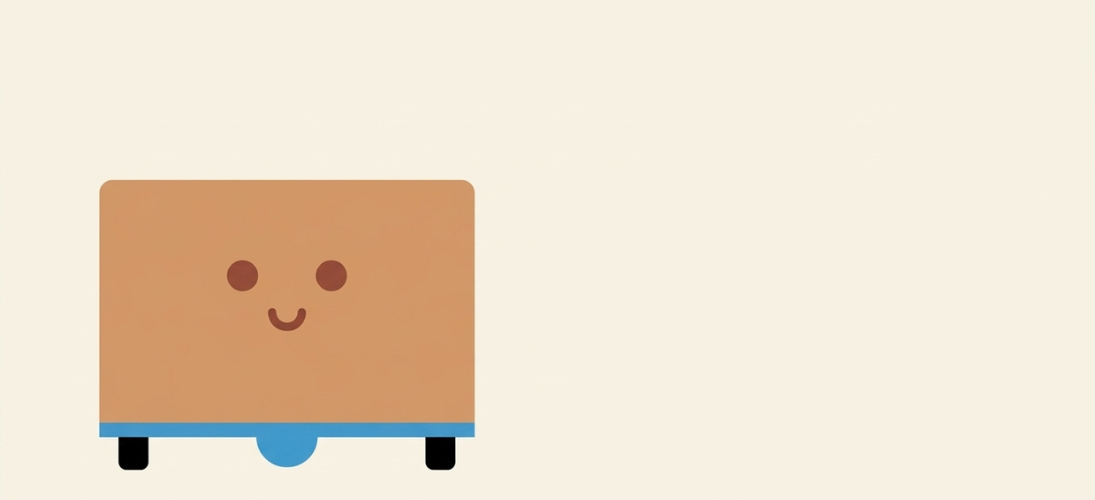
"Little Square Head"—crafted from sturdy, wear-resistant wood—features no screen and is both adorable and fun.
It will guide your little one into the world of programming.
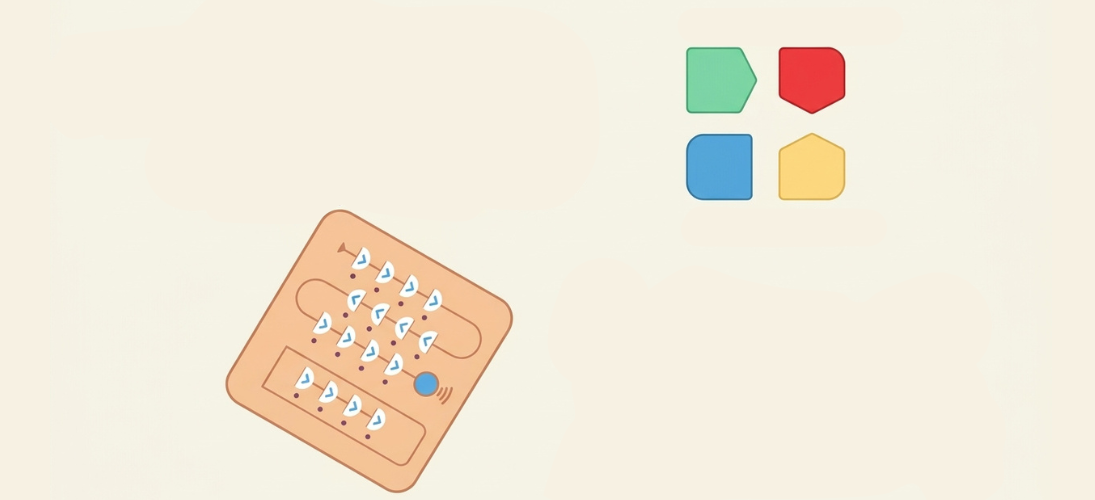
Move forward Turn right
Function Turn Left
Programming Blocks — "We have transformed programming languages
into physical blocks that you can touch with your own hands
much like LEGO bricks. Each block represents a specific action
when you connect these actions together, a program is formed."
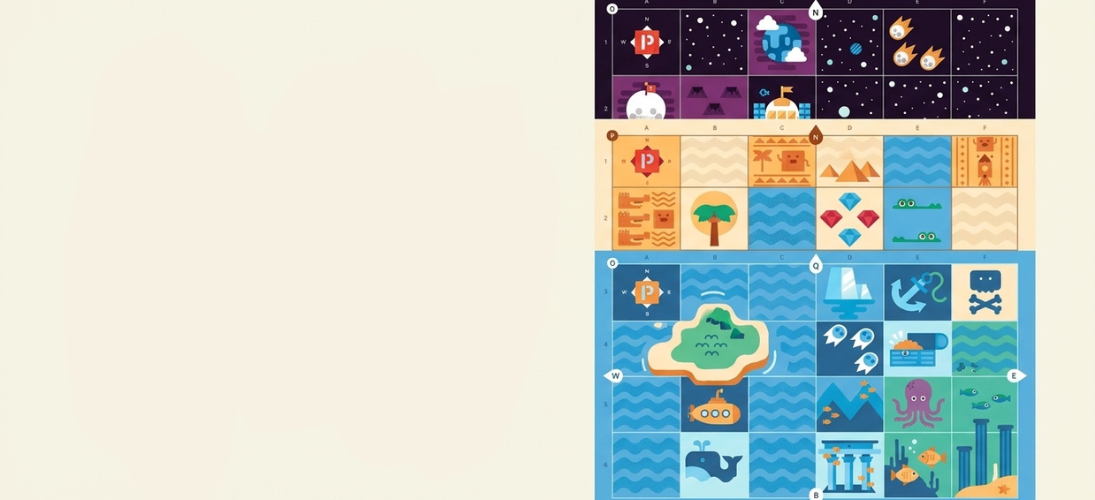
Storybooks and World Maps—through storybooks, world maps, and
a variety of challenges, children can develop programming
skills as they embark on an adventure.
Product parameters
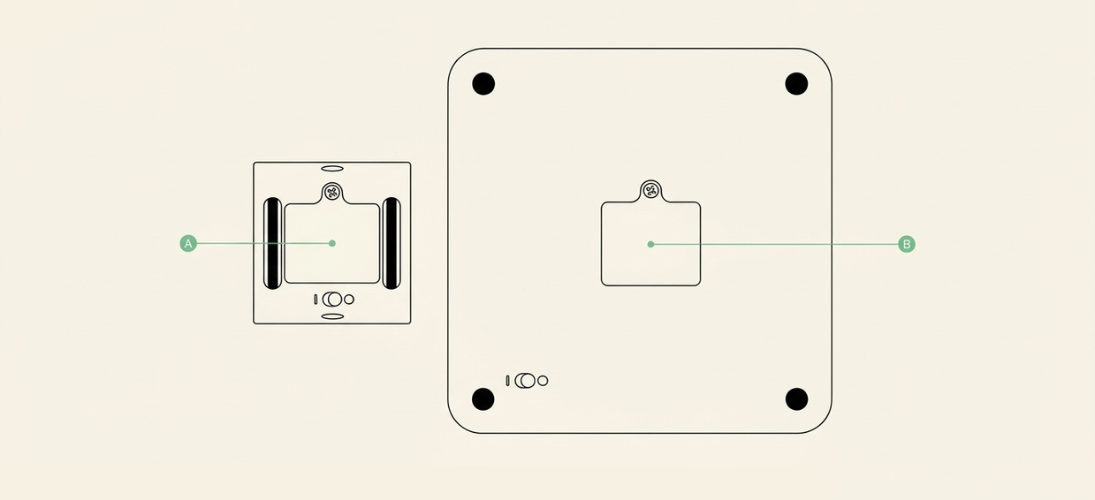
Power Supply
Battery
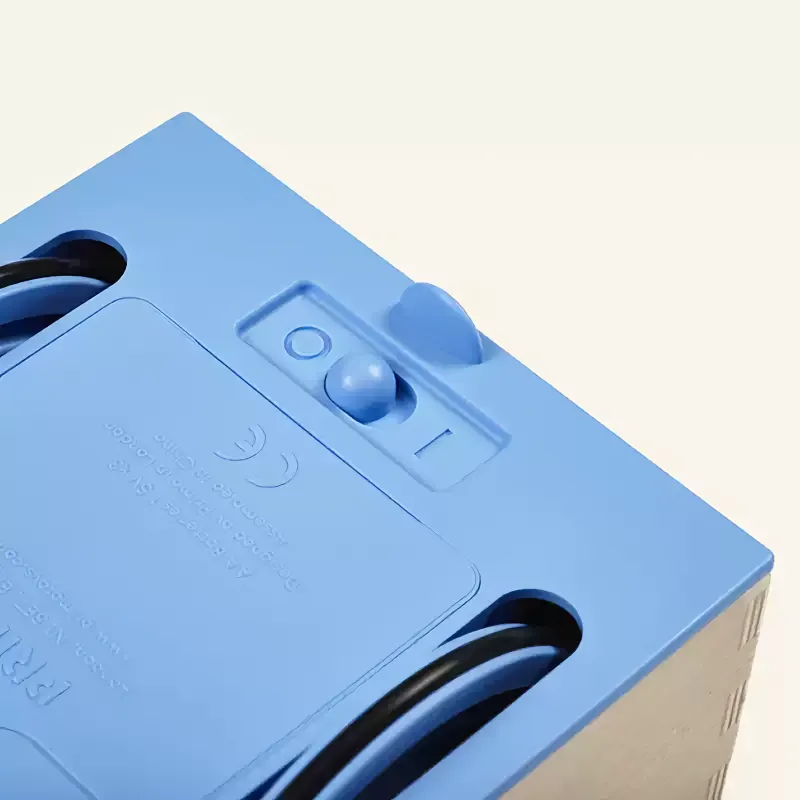
The small square unit and the control panel are powered by three AA batteries. The batteries are installed in section AB at the bottom of the device. Use a Phillips-head screwdriver to open the battery compartment.
Power Switch
The power switch for the small square unit and the control panel is located on the underside of the device; slide it left or right to turn the unit on or off. When the small square unit is powered on, it will emit an audible sound. When the control panel is powered on, all its LED lights will flash three times.
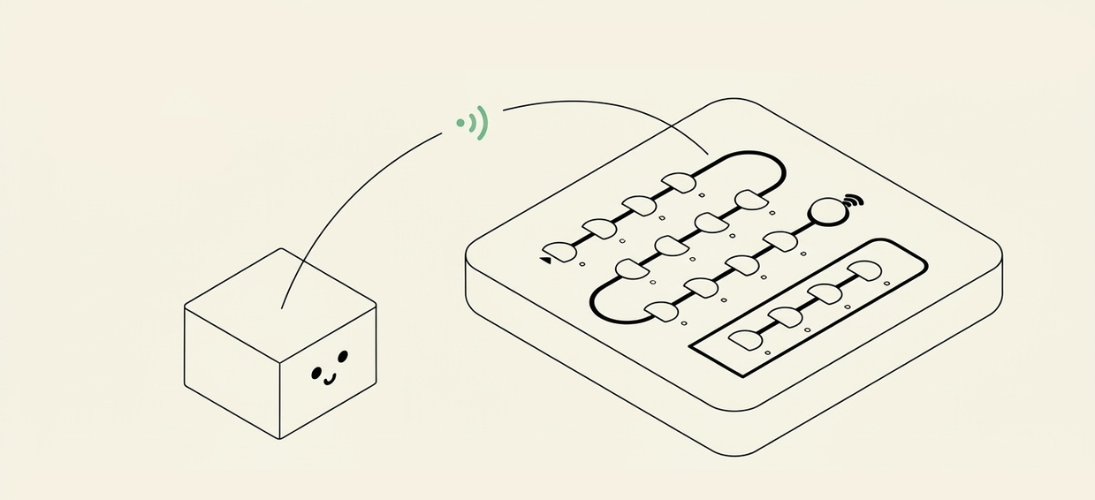
Wireless Pairing
The "Small Square" connects to the control panel via wireless pairing. Pairing must be performed before use; this process takes place in the background, requiring no action from the user. In an environment free from interference, it can pair with the designated device. The wireless connection range indoors is approximately ten meters.
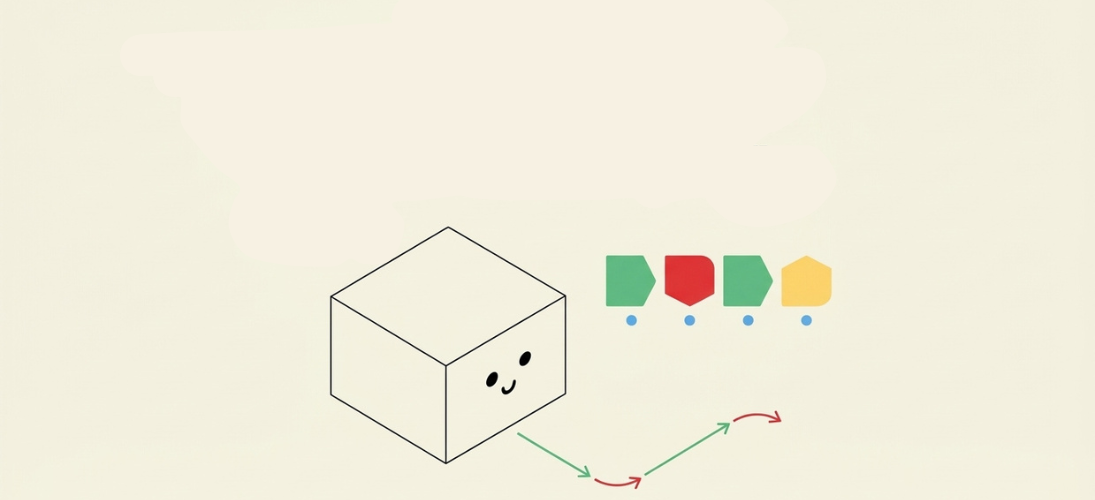
Pairing Procedure
1. Turn on the cube robot and the control panel (if they are already on, restart them).
2. Insert any command block (except for the blue ones) into the first slot on the control panel.
3. Press the start button; the cube robot will perform actions based on the command.
4. The cube robot and the control panel are now successfully paired; they will remain paired until one of the devices is turned off.
5. If the cube robot or the control panel is turned off, simply repeat the steps above to re-pair them.
How to Use
Children place building blocks into a control panel to arrange a series of consecutive commands—what we call a "sequence." These blocks essentially serve as executable instructions for the robot. Once the start button on the control panel is pressed, the program is sent, and the robot executes the commands in the specified order.
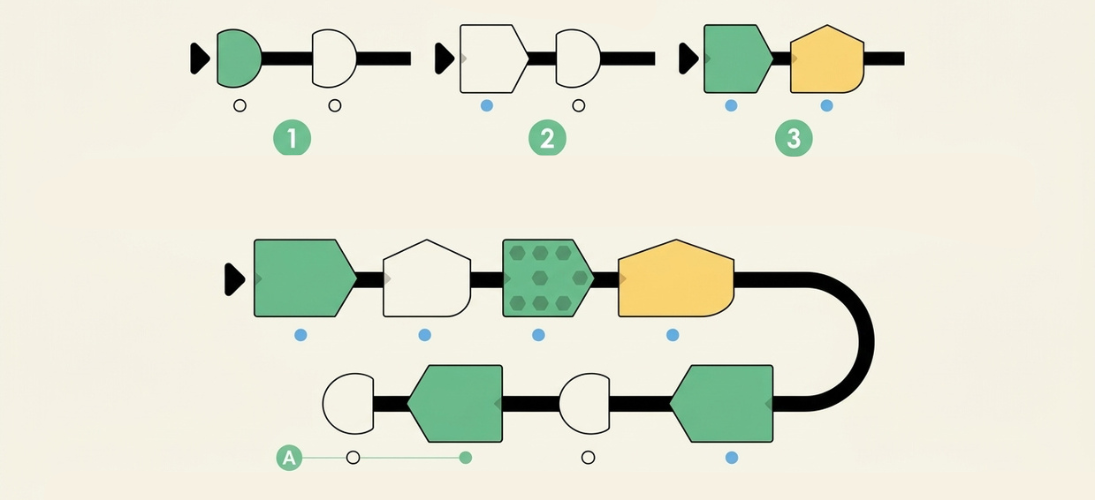
Create
Sequence
Place a building block onto the control panel: 1. When a block is placed correctly, the corresponding LED will light up. 2. Use a sequence of blocks to program the little square-headed robot. 3. Once the start button is pressed, any changes made to the sequence will not affect the robot; you must wait for it to finish executing all the commands in the current sequence before you can program a new one.
The sequence begins at the top-left slot and follows the lines on the control panel downward. If there are any empty slots in the sequence, the instruction blocks placed after those gaps will not be read or executed. As an instruction is being executed, its corresponding LED will light up. The little square robot will emit a unique sound after completing each instruction—each type of instruction has its own distinct sound. Once all instructions in the sequence have been executed, the robot will play a long, sustained tone.
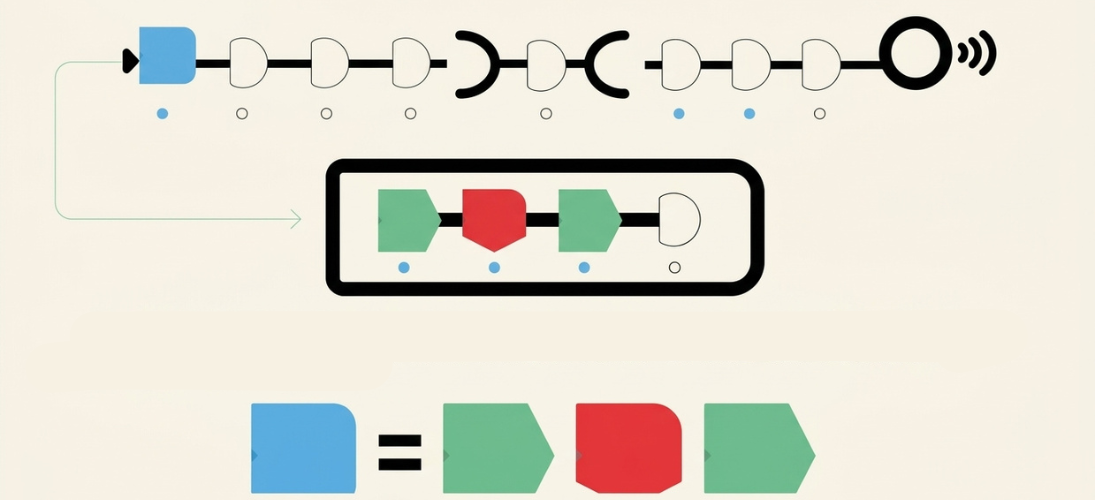
Create functional instructions
Blue blocks (also known as "function blocks") are used to "package" multiple commands into a single block, allowing a program to execute more complex sequences. To create a function block, place the desired command blocks onto the line located at the bottom of the panel (the "function line"). When the small square-headed character reaches a function block along the main path, it will execute the pre-set commands.
Three options
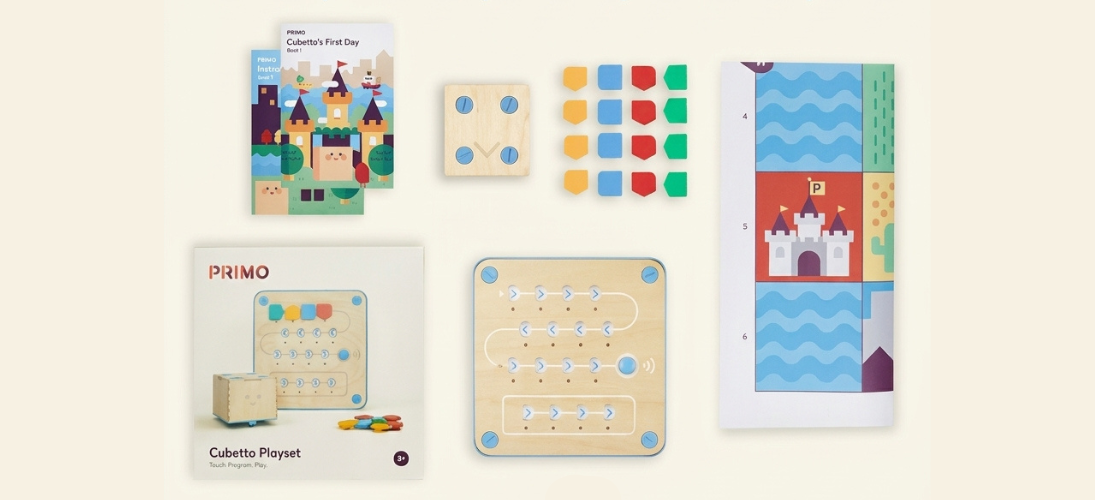
01/First Cubitto Storybook x1
Building blocks x16 World Map x1
Small square head x1
Control panel x1
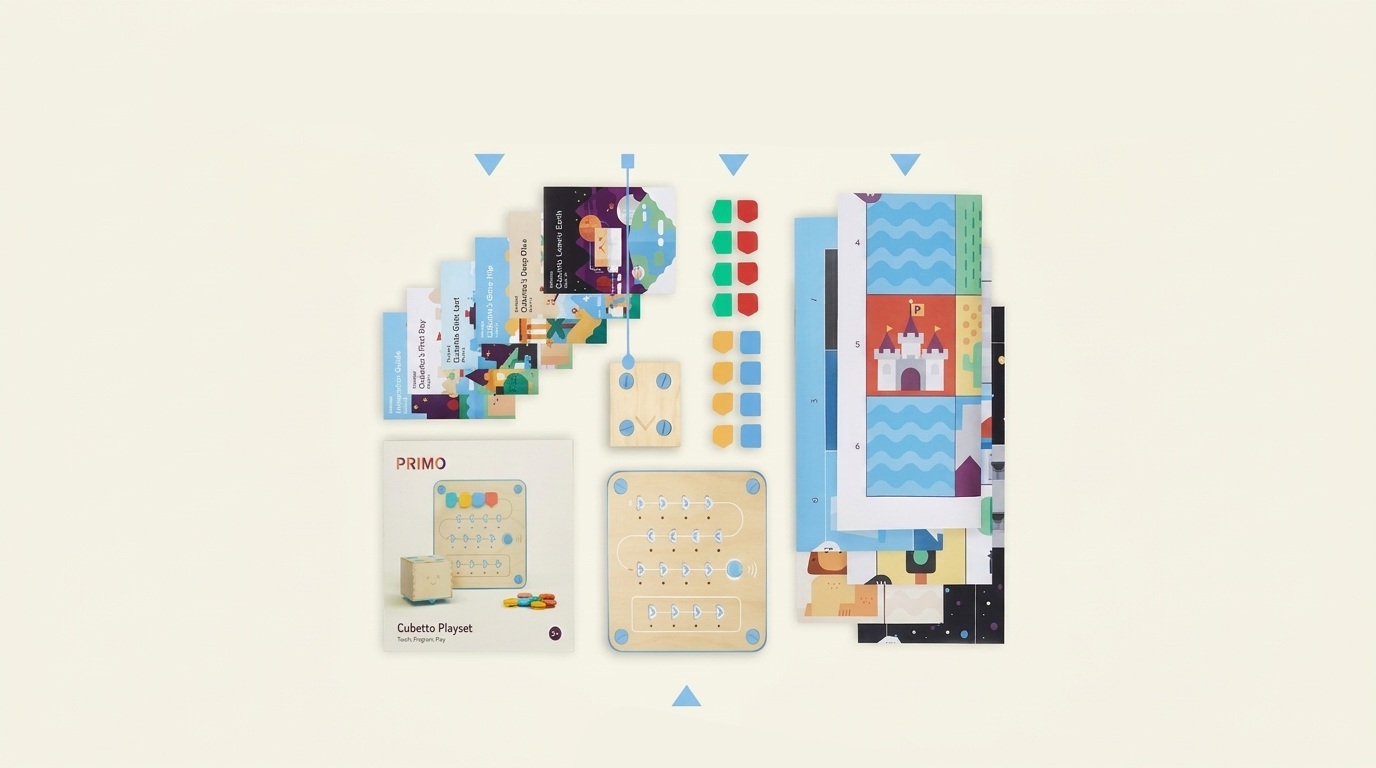
02/Primo Cubitto+Adventure Pack
Storybooks Small square head x1 Building blocks x16 World Map x5
Control panel x1
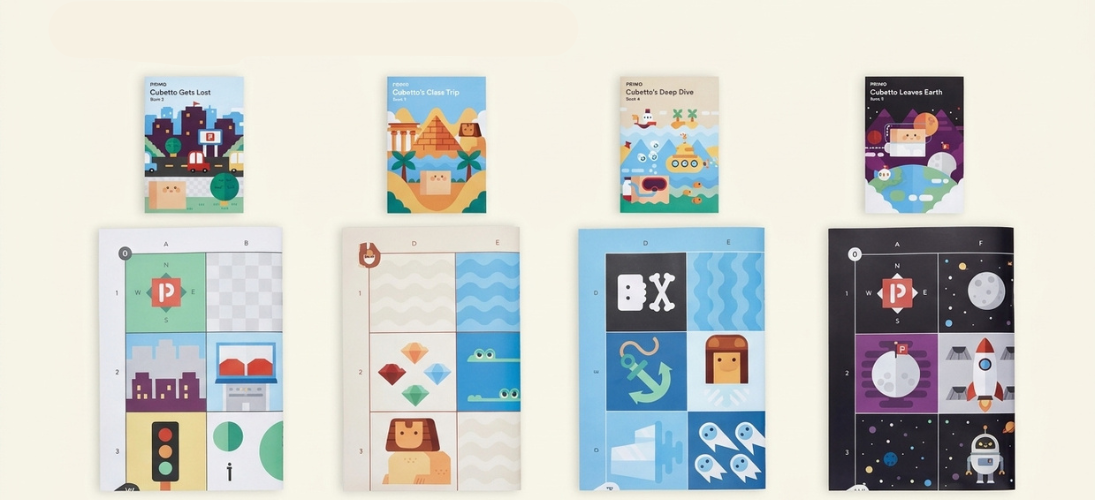
03/Adventure Pack
Storybooks x4 World Maps x4