

Product Description
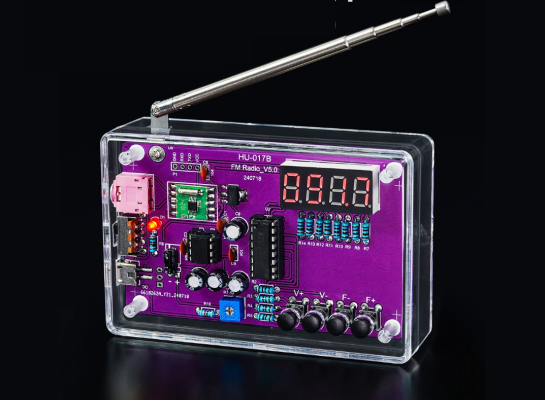
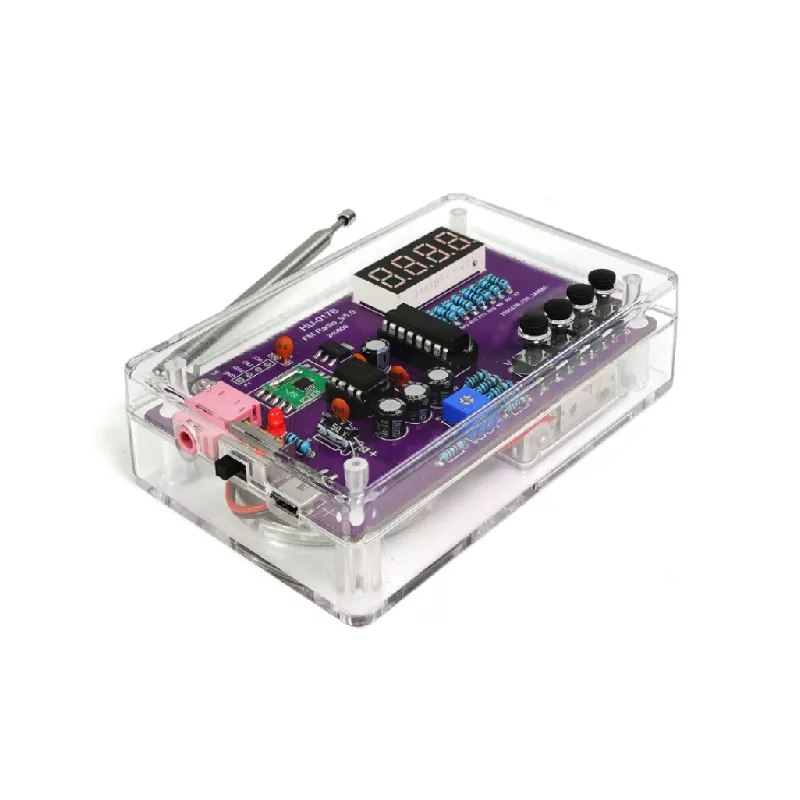
Radio DIY kit
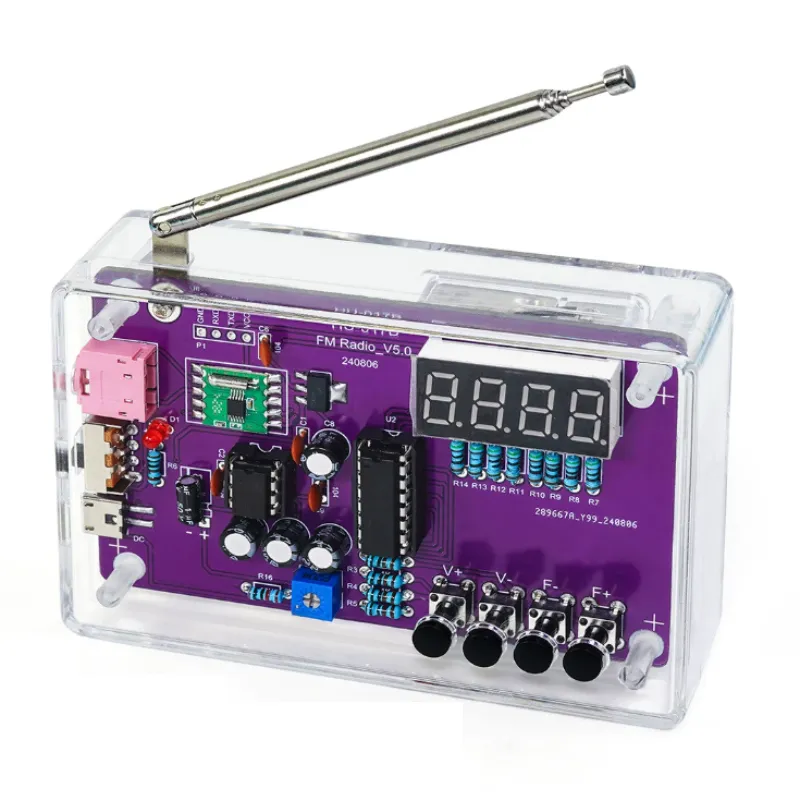
FM tuning, digital tube display, earphone cable connection
Power-off memory, station storage
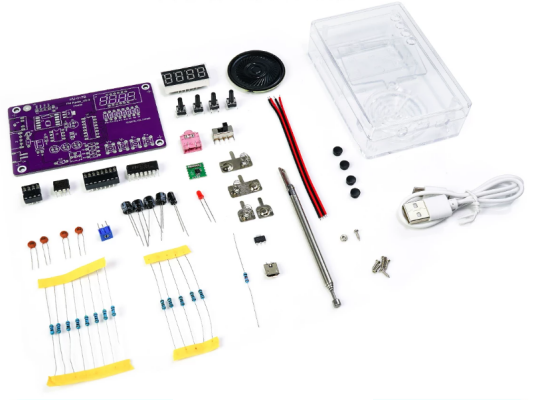
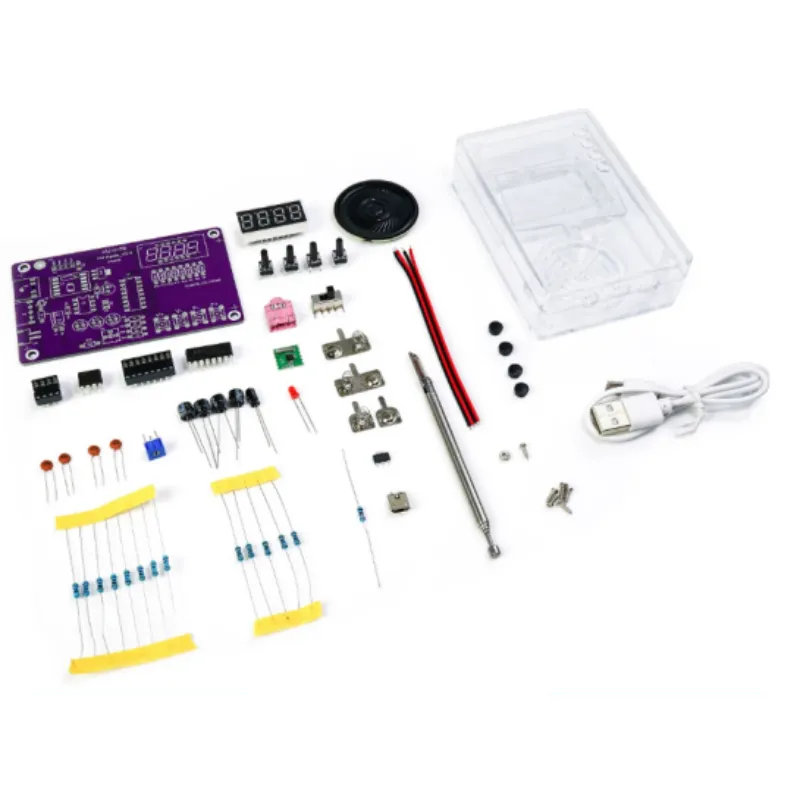
Loose parts need to be soldered and assembled by yourself
You need your own soldering tools; a detailed installation tutorial is included
Paper manual included

Electronics teaching

interest development

innovative thinking

DIY fun

FM tuning

power-off memory
Functional Features
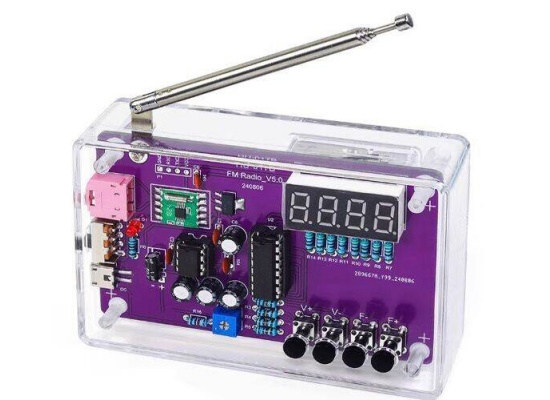
1、RDA5807 radio module, featuring noise elimination, bass boost, high sensitivity, low noise and strong anti-interference
2、15 volume levels adjusted with a potentiometer, so you can set the volume you like
3、Digital tube display makes it easier to check the station channel and signal strength
4、Power-off memory, auto scan and station storage with a station list
5、Power-saving mode makes the radio more energy efficient
6、Adjust the search threshold to capture more station signals
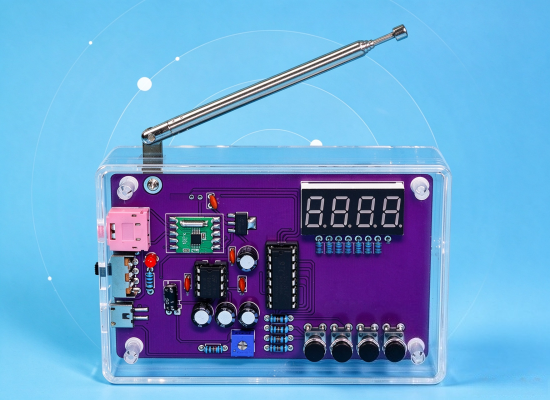
FM reception band 87-108MHZ
Uses the RDA5807 radio module, featuring noise elimination, bass boost,
high sensitivity, low noise and strong anti-interference
Note: how many stations you receive depends on the surrounding signal strength
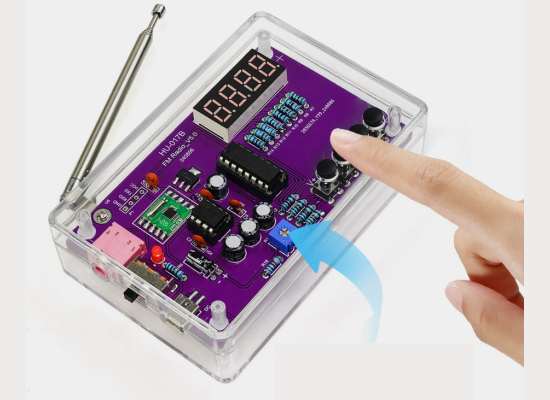
Digital tube display with power-saving mode
Easy checking of station channel and signal strength;
adjustable search threshold;
15 volume levels
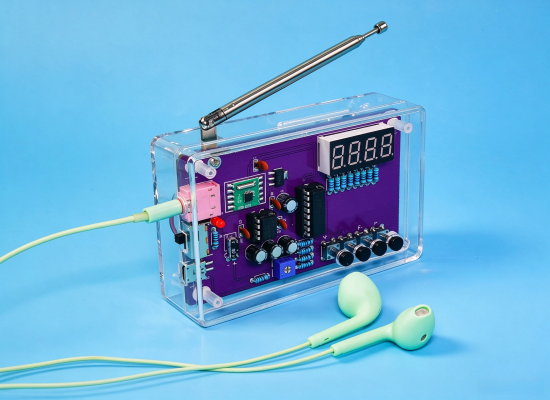
3.5mm audio interface
Supports connection to earphones or speakers
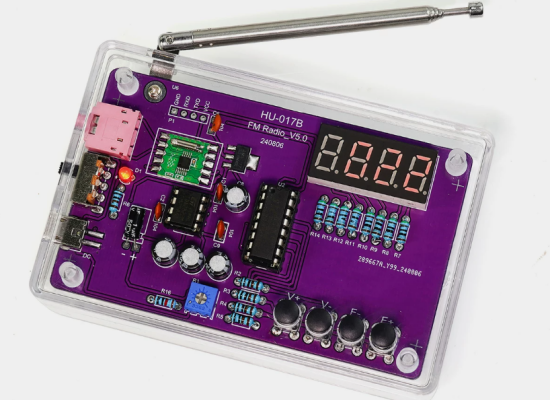
Power-off memory station storage
Auto scan and station list management
Automatically searches surrounding stations and stores them when powered on
(up to 30 stations can be stored; extras cannot be saved)
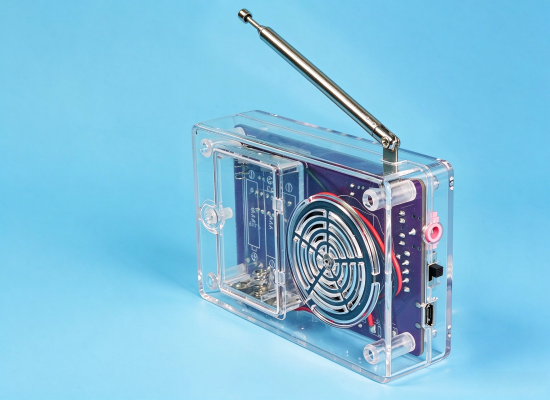
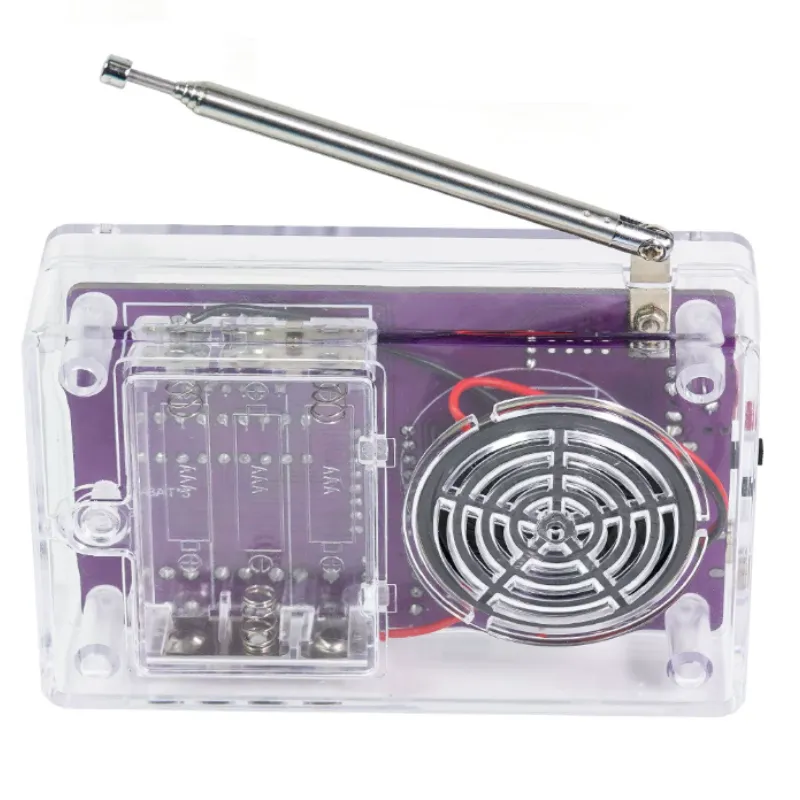
Battery power / Android cable power
Choose one power method; do not use both at the same time
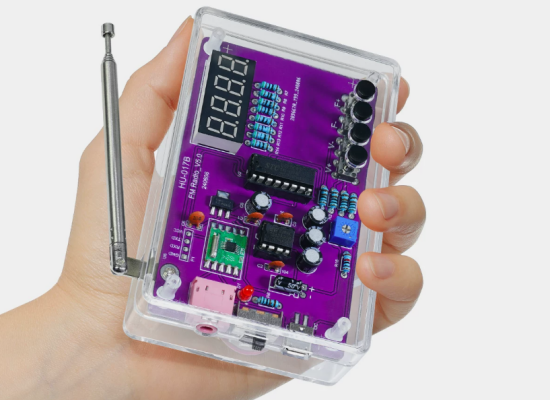
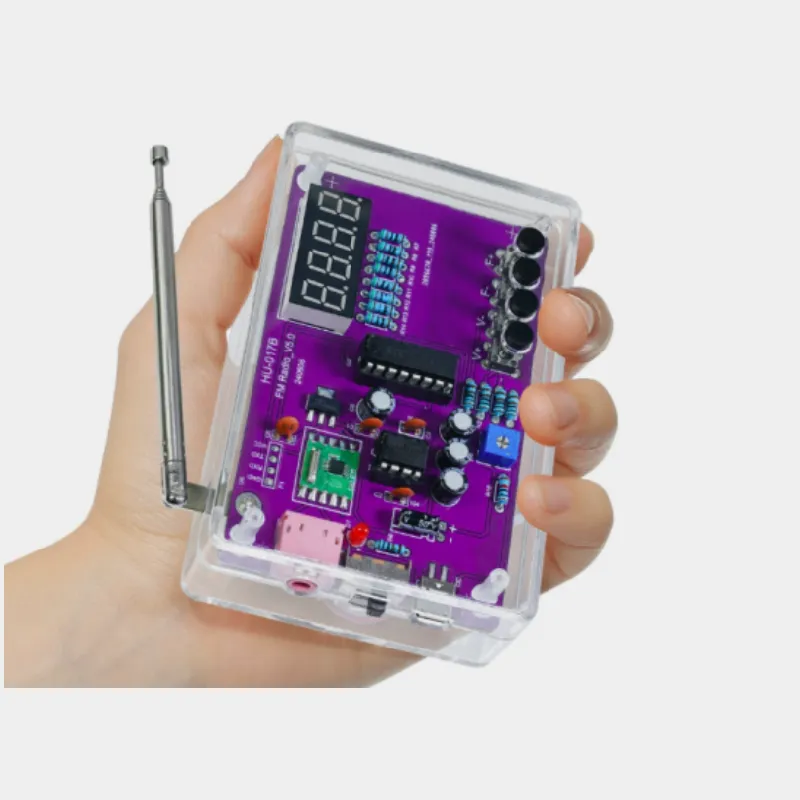
Light and compact, easy to carry;
transparent housing with rounded corners for a comfortable feel
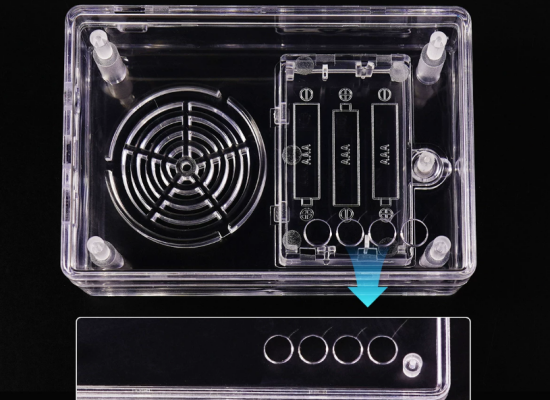
Transparent injection-moulded housing AA
*This mark is a normal production phenomenon and does not affect use

power-saving mode

station storage

Clear sound quality

audio jack

digital tube display

transparent housing
Circuit principle
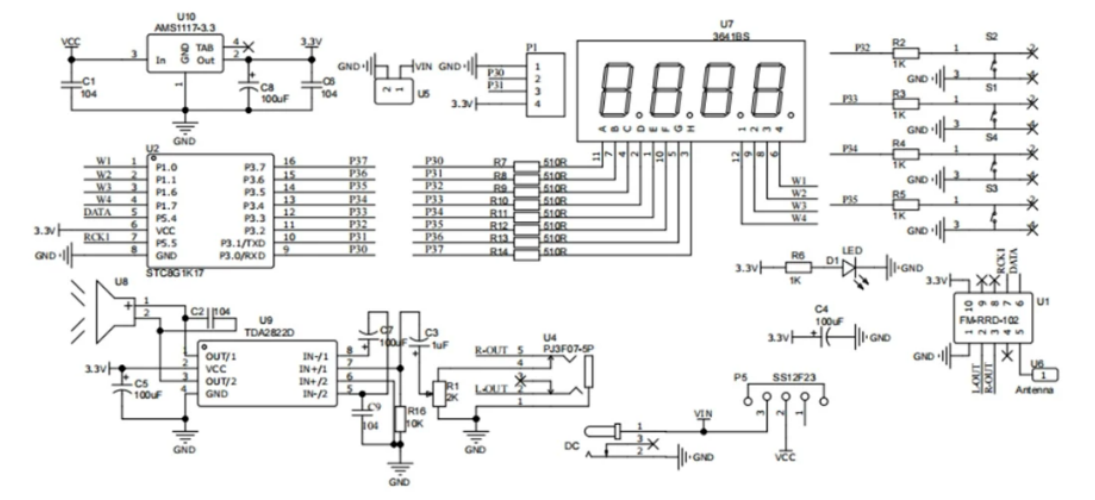
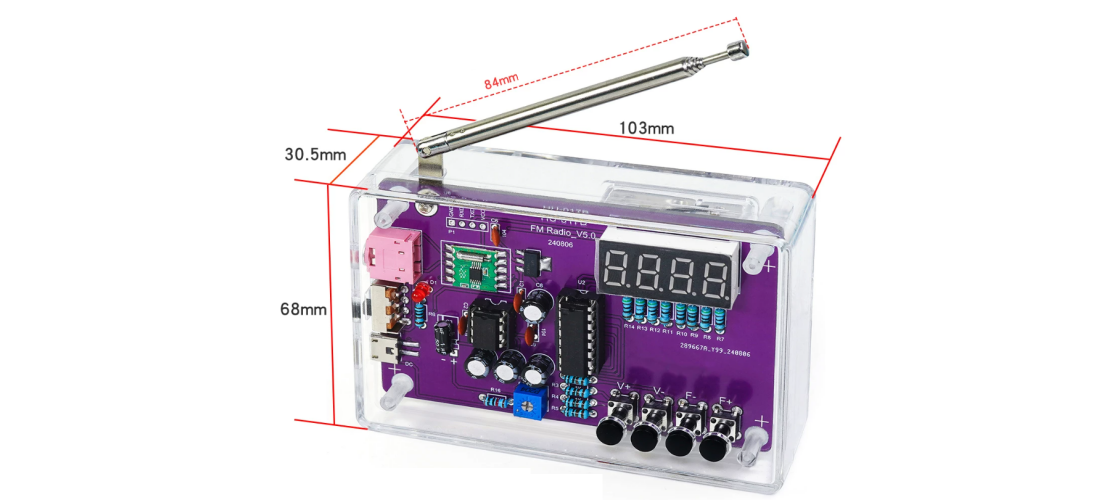
Dimensional Drawin
Assembly Steps
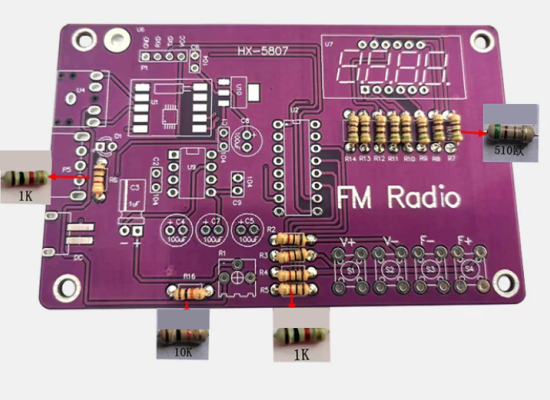
Step 1
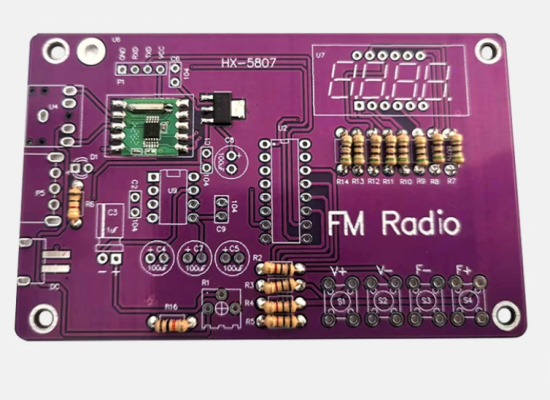
Step 2: Install the voltage regulator and the radio module
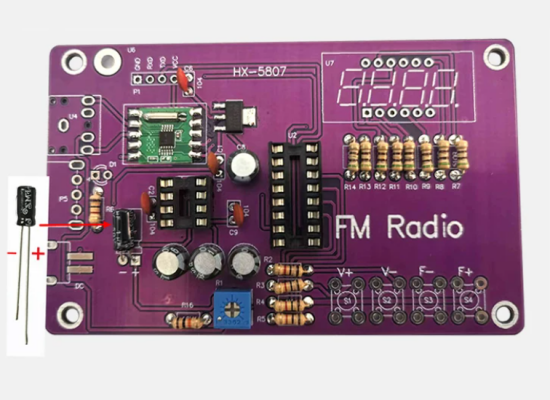
Step 3: Electrolytic capacitors — observe the polarity (+/−)
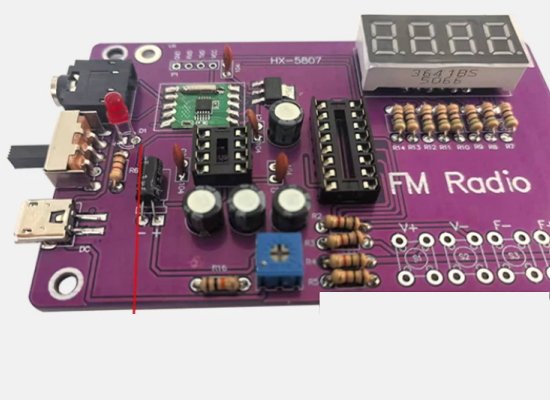
Step 4: Keep the LED about 6 mm above the PCB
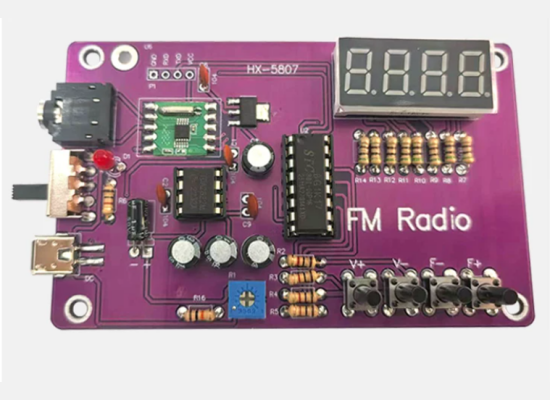
Step 5
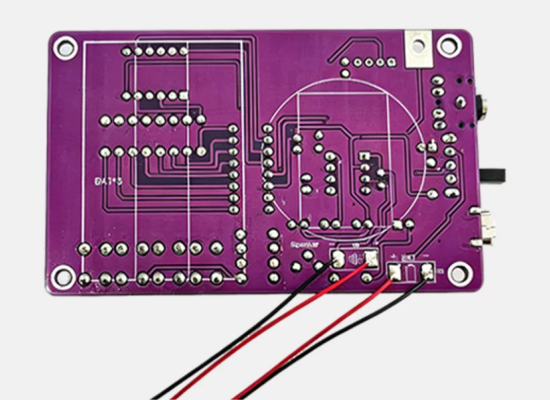
Step 6: Install the wires
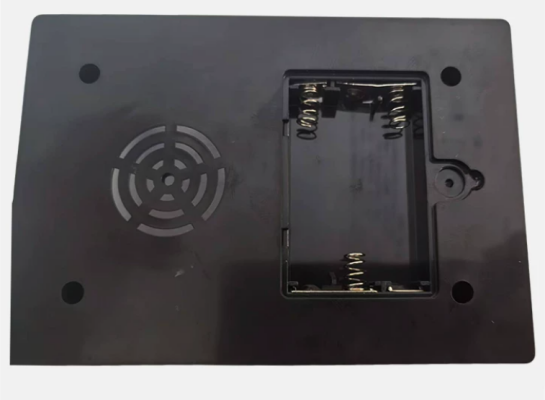
Step 7
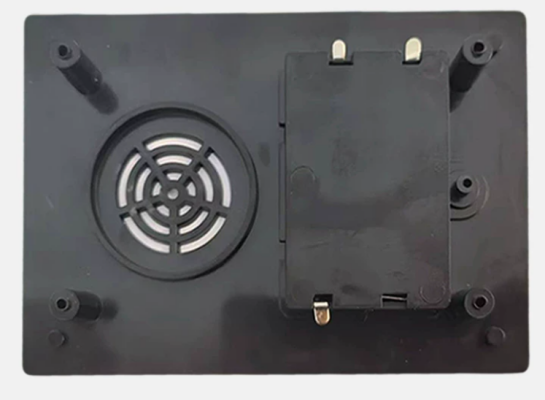
Step 8
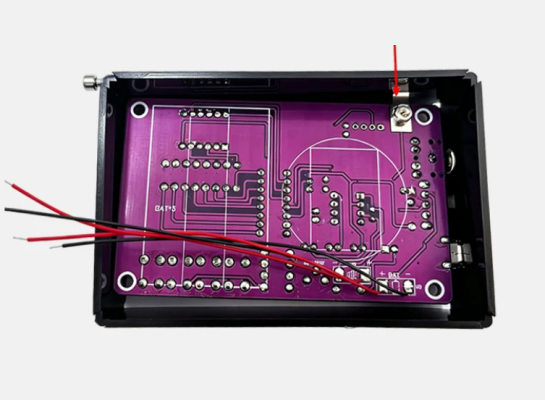
Step 9: Secure the antenna
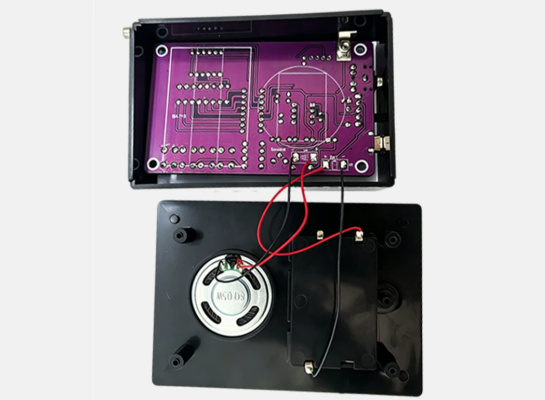
Step 10: Solder the speaker and the battery contact plates
Product parameters
|
|
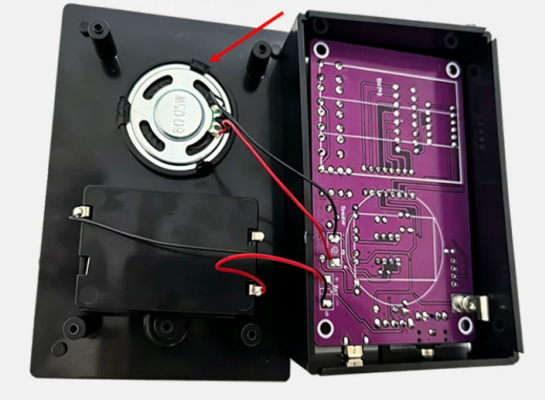
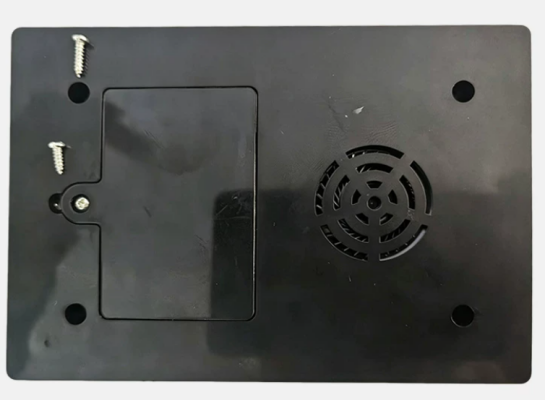
| Step 11: Secure the speaker — melt the surrounding plastic with the soldering iron and press it over the speaker | Step 12: Use four 2×8 screws to secure the housing, and 2×6 screws to secure the battery cover |
Parameter | Value |
Product Name | HU-017B Upgraded RDA5807 Radio Making Kit |
Power Supply | 3 x AAA batteries or USB power (choose one) |
Reception Band | 87-108MHZ |
Max Working Current | About 250mA (at maximum volume) |
PCB Size | 95.5x59mm |
Total Weight | About 136g |